The Best Thermal Pastes in 2024
Ice-cool temperatures. The dream of any PC enthusiast. There’s something about low temps that makes each of us shiver in excitement. That’s why we’re constantly seeking the best thermal paste, air coolers, case fans, and the best components to create a system that shreds through games and applications.
When you’re planning out your build, you can’t leave anything to chance. Choosing the best thermal compound will have a positive impact on the heat transfer between your heatsinks and chips. Now, you must understand that you’ll see very marginal differences between different brands of quality pastes. A few degrees at most.
While a few degrees hardly affect performance in most systems, if you’re planning on hitting high clockspeeds, then it really does matter what brand of thermal paste you’re going to use in your build. With that in mind, let’s take a look at some of the products that we’ve prepared for you.
Best Thermal Compounds
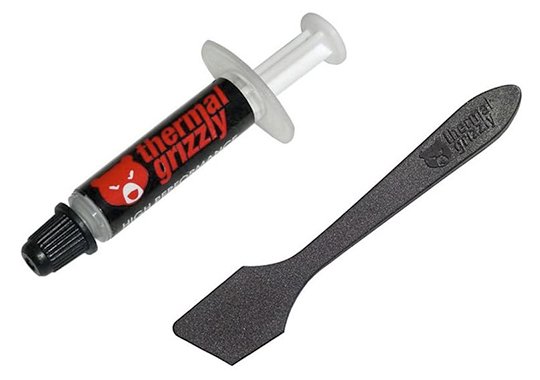
Thermal Grizzly Kryonaut
Non-corrosive, Non-conductive, High-performing compound
- Made for air and water cooling
- Compatible with sub-zero overclocking
- Non-corrosive, can work with aluminum coolers
- 12.5 W / mk conductivity
- 1.0-gram syringe
In our experience, the Thermal Grizzly Kryonaut thermal compound was great. It’s meant for overclockers, which is a big plus. The viscosity of the product depends on the temperature it’s been kept in, so for best results, we recommend you put the tube in a ziplock bag and submerge it in warm water for a few minutes before applying it to your desired surface.
Applying it will go smoothly if you follow the aforementioned method. The 1-gram tube is accompanied by a thermal application tool, which is very useful if you’re trying to apply it in an even coating. It’s long-lasting and the perfect paste to replace your gritty, dried-out compound.
While 12.5 W / mk doesn’t seem high, the Thermal Grizzly Kryonaut thermal paste conducts heat well enough to be an enthusiast-grade product. Great if you’re getting into overclocking, great if you’re looking for a replacement thermal compound, great all-around.
- Good heat conductivity
- Long-lasting
- No curing
- Non-conductive compound
- A bit expensive
- Hard to apply if kept in cold temps
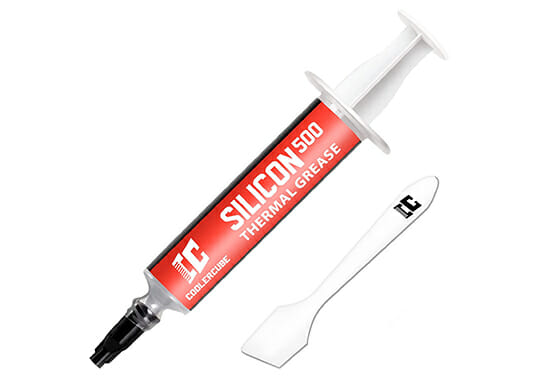
CoolerCube Silicon500 Thermal Paste
A Good Thermal Paste Combo Kit
- Density – 2.60 g/cm³
- Continuous Use Temperature – 40~150 ℃
- Viscosity – 550 Poise
The application of thermal paste is not a very complicated process but getting all the help you can get is never a problem in any field. When you buy the CoolerCube thermal paste you not only get an excellent product with high thermal conductivity, but you also get a spatula, a scrapper, and a cleaning package.
This is a safe product that is flame retardant, metal-free, and non-conductive making it noob-friendly. Due to high stability and reliability, the compound also boasts to last at least 5 years before it dries out.
You can use the CoolerCube thermal paste on CPUs/GPUs although the viscosity of the product is on the lower side making it not as good for direct-die applications.
- You get the whole package to make your job easier
- A decent product that is safe to use on your components
- Cheaper than alternatives that offer you only the thermal paste itself
- It cannot compete with premium thermal paste like Arctic or Thermal Grizzly
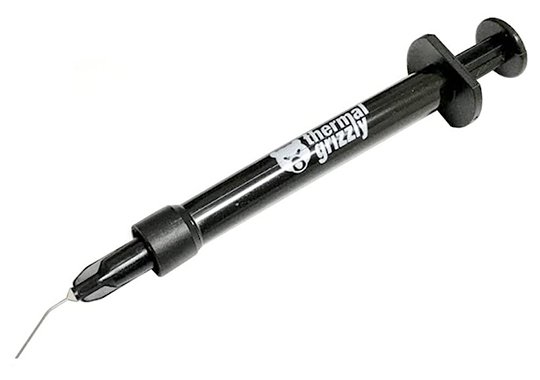
Thermal Grizzly Conductonaut
The Best Thermal Paste for Enthusiasts
- 1.0-gram package
- 73 W / mk conductivity
- Liquid metal compound
On the same note with the previous product, the Thermal Grizzly Conductonaut is a liquid metal-based compound that has great thermal conductivity properties. This is another product intended for enthusiasts who’re looking to maximize their cooling efficiency. In the top for the best thermal paste for CPU overclocking, this product comes in an efficient container with a spout that allows you to control the spread of the thermal compound.
The product is also accompanied by a cleaning kit, containing alcohol wipes, and two cotton swabs for applying the thermal coating. Use a very small amount and just paint it over the surfaces because, as with our previous product, this also presents a risk of shorting your components if handled carelessly.
The Thermal Grizzly Conductonaut has a thermal conductivity of 73 W / mk, making it an entry for our best CPU thermal paste list. If you’re an experienced overclocker, this is a great choice for getting that bump in efficiency, shooting you to the top of the leaderboards.
- Very good thermal conductivity
- Great for enthusiasts looking to overclock
- Specifically made for nickel-plated copper heatsinks
- Can’t work with aluminum-based heatsinks
Cooler Master MasterGel Maker
Great In-Between Thermal Compound

- 11 W / mk conductivity
- 1.5-gram syringe
- 2.6 specific gravity at 25 degrees Celsius
Cooler Master is an industry titan when it comes to cooling. Coolers, cases with optimal airflow, pumps, they do it all. It makes sense that with all of their cooling expertise, they’d be on our list. Whether you want to overclock your graphics card or you’re looking to replace your old thermal paste with a much better brand, the MasterGel Maker is a great product for everyone.
Coming in a convenient 1.5-gram tube, which is plenty for multiple applications, the Cooler Master MasterGel Maker is a good value pick. The thermal grease is high-quality, the thermal conductivity is great, and applying it is a sinch.
The 11 W / mk conductivity is a great value for a non-conductive thermal compound. It’s really a step up from the competition and delivers beautiful results in both casual and overclocked systems. The 2.6 specific gravity (at 25 C) ensures easy application if kept at room temperature.
- Good thermal conductivity for non-metal based product
- Great for any sort of application (CPU, GPU, Delidding chips)
- Flat-nozzle design, great for spreading
- Expensive for the specifications
Coollaboratory Liquid Ultra
Another Contender to the Best Thermal Paste Title
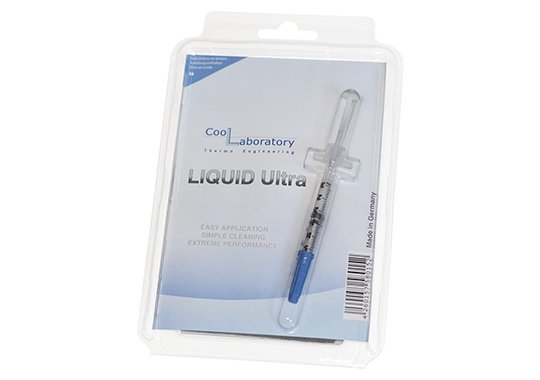
- 38 W / mk thermal conductivity
- 100% metal liquid
- Not compatible with aluminum
Another metal-based liquid compound from Coollaboratory, the Liquid Ultra has been featured by high-profile industry influencers as being a great thermal conductor. It’s pretty affordable compared to the competition, and it comes with all of the specifications that a high-end enthusiast would like to have in a quality thermal compound.
The fact that it’s 100% liquid metal does limit its application if you’re inexperienced. Whenever you’re replacing a GPU’s cooling system to add a liquid block or an aftermarket cooler, or when you’re trying to delid a CPU to further increase its performance, you’ll find that it’s important to use a non-corrosive, non-conductive compound to ensure that you won’t damage and short your expensive components.
The Liquid Ultra is great for all sorts of applications. If you’re an enthusiast and have experience with taking components apart, then you can isolate the sensitive areas with liquid tape and proceed to carefully apply the compound. It comes with a cleaning kit, so you’re covered.
- Good thermal conductivity
- Good value
- Only targeted towards enthusiasts for certain applications
- Not compatible with aluminum heatsinks
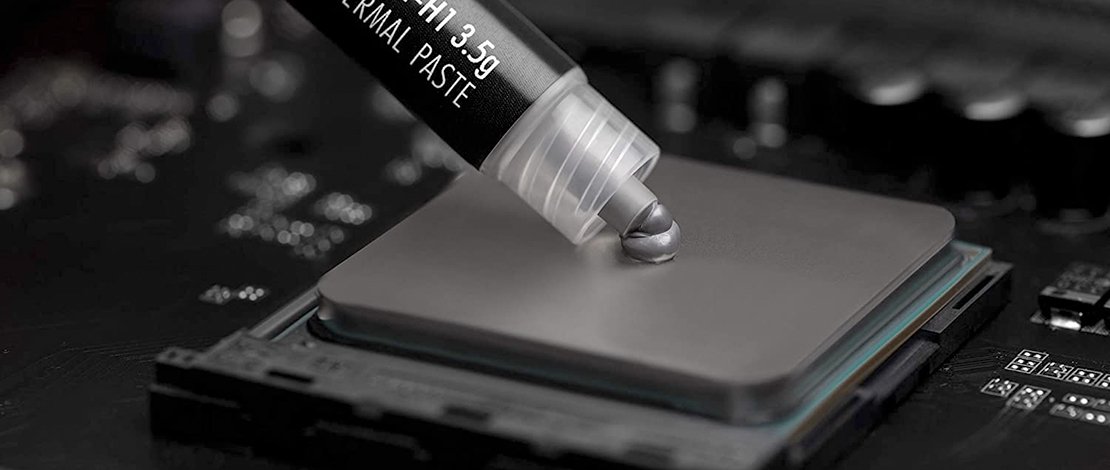
Noctua NT-H1
The Best Thermal Paste for Newbies
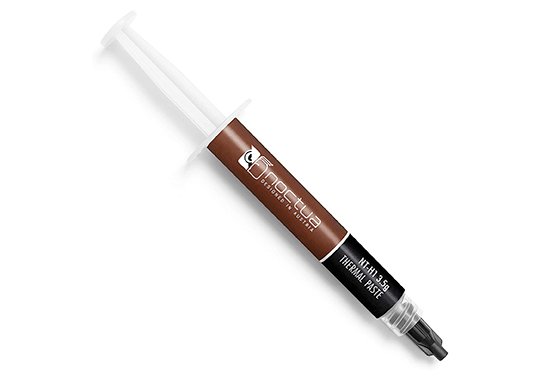
- 3.5-gram syringe
- Not electrically conductive
- Lasts up to 5 years after applying
- 8.5 W / mk conductivity
If you haven’t heard about Noctua, then you haven’t been a PC enthusiast for a long time. Noctua is THE cooling fan manufacturer. Case fans, CPU fans, they’re renowned for making the best air cooling solutions for any sort of system. The NT-H1 is their flagship thermal compound, and it comes in a “hefty” 3.5-gram package, which is a lot of applications depending on the type of CPU you use.
It doesn’t have to go through thermal cycles to work properly (we’ll talk about that in the buying guide), so you can just put a dollop on the surface, spread it, and you’re going to see improved temps right off the bat. Application is straightforward, this product having a good density which facilitates the entire process.
As a bonus, it comes with a lot of instructions on how to apply on different chips, so the newbies will have a great time using this premium-grade product by Noctua.
- Long-lasting
- Easy to use, comes with tutorials
- Not the best conductivity when compared to the competition
ARCTIC MX-6
A Staple in PC Building
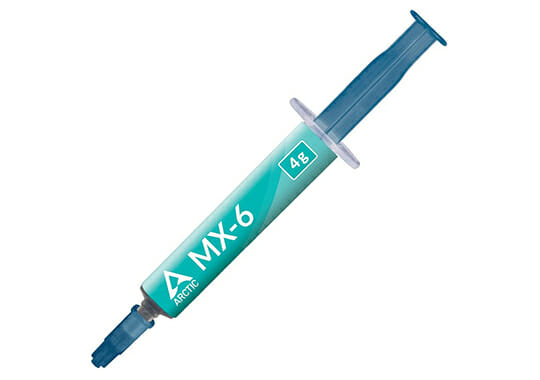
- Density – 2.60 g/cm³
- Continuous Use Temperature – 50~150 ℃
- Viscosity – 45000 Poise
The Arctic MX series of thermal paste is synonymous with good thermals and conductivity so it is expected that their latest improvement, the MX-6 is a heavy hitter in the market. Arctic marketed their product as 20% better than the MX-4, one of the most popular thermal paste options used to this day so the expectations are pretty high.
The MX-6 delivers the expected performance and is a safe product that is neither conductive nor capacitive so it eliminates any risks while working on your system. Due to the new composition of the MX-6 and the viscosity of the thermal paste you can now not only use it for CPUs but also for direct-die cooling like GPUs and expect better thermals than stock paste.
The higher viscosity also means that if you are re-pasting your CPU/GPU for the first time you need to be careful not to splatter thermal paste everywhere so it implies a certain amount of skill needed for the process.
- A reputable brand that has proven its quality over time
- Improved thermal conductivity compared to older generations
- Can now be used both for GPU/CPU applications
- You only get the thermal paste with the purchase and no other useful accessories
Arctic Silver 5
Flagship Thermal Compound

- 3.5-gram syringe
- Increasing conductivity based on multiple tempering cycles
- Not electrically-conductive
The Arctic Silver 5 is a favorite in high-end PC enthusiast circles. Arctic itself is a big name in the thermal compound industry, and the Silver 5 seems to be the go-to choice for a lot of PC builders out there. But why is that?
The Arctic Silver 5 contains a mixture of oils and metallic particles (99.9% silver), which gives it amazing conductivity for enthusiasts. While it does contain metallic elements, the paste itself is not electrically conductive, so you won’t risk any shorts if you are careless with it.
The viscosity is also engineered for easy application, making it a very user-friendly product. The only issue with it is that it takes around 200 hours and multiple tempering cycles (turning heat off and on) to reach maximum conductivity, because of the nature of the mix.
- Good thermal conductivity
- Easy application
- Good price
- Takes a while to reach full potential based on how much you use your PC
CORSAIR XTM50
Best Thermal Compound for Beginner Modders
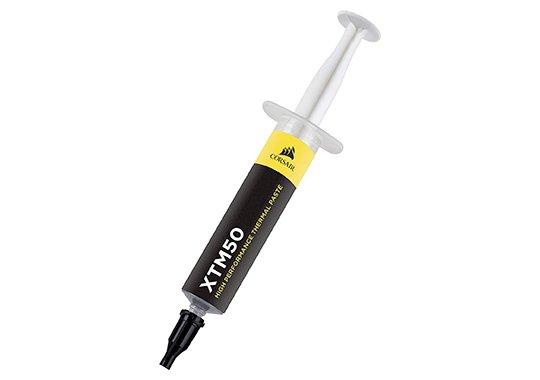
- 5.0 W / mk
- Low-viscosity makes it easier to apply
- Comes with stencils and spatula – beginner-friendly
It’s hard to imagine a segment of the PC community where Corsair doesn’t have any presence. On that note, the XTM50 is a low-viscosity liquid thermal compound that promises to bring longevity. Each time you take your computer apart, you risk it being damaged, so having a long-lasting paste is a great way to minimize this type of interaction.
The low-viscosity makes it one of the best pastes in terms of application. That being said, the liquid state also makes it less conductive, so you’ll be seeing modest results when compared to something from Cooler Master, Arctic, or Thermal Grizzly.
Overall, it’s great if you haven’t applied thermal paste before and it still delivers reliable results. It just isn’t meant for high-end overclocking.
- Ideal for beginners
- Provides good results
- Long-lasting
- Lower thermal conductivity than the competition
- Not great for overclockers
How to Choose a Thermal Paste
Composition
Basically, this will affect your purchase in one of two ways. If the compound is metallic-based, as mentioned above, it must be handled with the utmost care so that you don’t get it on the circuits. In addition to being electrically conductive, it can also corrode your circuit boards and you can effectively brick your expensive gaming motherboard.
If you have an aluminum CPU cooler heatsink, note that most liquid metal thermal pastes will corrode the aluminum and will cause a very bad reaction. Opt for something non-corrosive or use a nickel-plated copper heatsink.
If the compound is not electrically conductive, you can use it for any sort of application without risking shorting your components. Liquid metal compounds are better at transferring heat, so both products have their strengths and weaknesses.
Thermal Cycles
Some products require to go through some thermal cycles to become fully-functional. This means that they have to be exposed to big temperature differences to settle in all the nooks and crannies. The higher the viscosity, the more thermal cycles it will take for the compound to fully activate.
Specifications
When you’re shopping for thermal paste, there are a few things to keep in mind. The higher the thermal transfer values, the more conductive the paste will be. So 12.5 W / mk (watts per meter Kelvin) will be less conductive than 38 W / mk pastes. That being said, your results will vary, based on your cooling, components, so really any thermal paste from a reputable brand will do the job just fine. In reality, you’ll only see a few degrees -/+ from your previous thermal paste.
You’ll also see the term specific gravity. This measured the viscosity of the paste. Lower values mean that it will be more fluid, making it easier for users to apply it.
Grammage
A 1.5-gram syringe has around 3-4 uses if you’re using them on standard LGA 1151 or AM4 chips. For LGA 2066 or Threadripper CPUs, you’re going to need to buy 3.5-gram or larger syringes to cover the entire chip.
I’m very disappointed with your review of Arctic Silver 5. Simply stating that its conductivity increases after 200 hours and “multiple tempering cycles” is practically useless. We need to know what its conductivity is once it has cured. Especially as you state it has “amazing conductivity for enthusiasts.” Would you quantify “amazing” please? Without this information you might as well have said “Blah, blah, blah, Arctic Silver 5, blah, blah, blah.” I’m not simply trolling you. I’m building a new system, and am looking for quantifiable data to help me decide what compound to use (Staying far, far away from… Read more »
Hi,
Innovation Cooling aggregated a number of temp charts and the majority of them also include Arctic Silver 5. https://www.innovationcooling.com/pc-hardware-website-reviews-of-ic-diamond-thermal-compound/. Maybe this will help.