Advanced Mouse Mod – How to Change Your Micro Switches
We live in times when mice and keyboards have come a long way in terms of quality and features, but sometimes you still want something specially made or customized by yourself.
In the case of keyboards, you can build a custom keyboard with your case of choice, custom cables, custom switches which can be also lubed, and you can round up the build with some nice keycaps.
With mice, you can change the cable to a paracord, add some fancy mouse feet, and perhaps some mouse grips. These mods require limited technical knowledge, therefore, are safe to execute for everyone.
If you are still unsatisfied with the way your mouse feels you can proceed with an advanced mod, namely swapping out the current switches from your mouse for better ones.
To safely execute this mod you need to have at least some experience with soldering or you can practice on an older mouse.
What Does the Process Imply?
To successfully swap your mouse clicks a.k.a micro switches you need to open up your mouse, take it apart freeing the PCB that you will work on, desolder the old switches, and finally solder new switches in.
If done inappropriately this might completely ruin your mouse making it unusable so proceed with caution!!!
As mentioned, previous desoldering/soldering experience is necessary so before executing the mod on the expensive mouse you use, try doing it on some old piece of tech you have lying around.
Why Would You Want Different Mouse Switches?
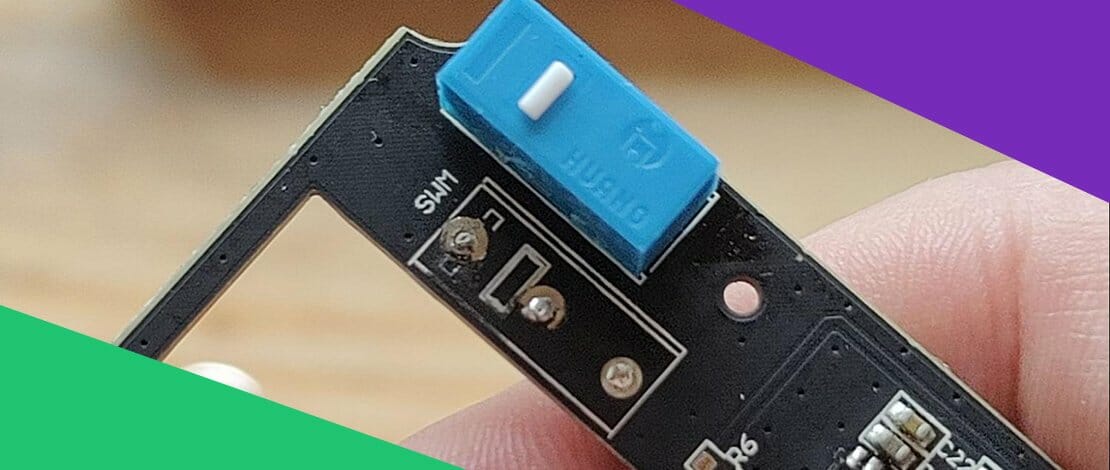
90% of the mice on the market are using Chinese D2FC-F-K (50m) Omron switches which are generally ok for most users.
At the same time if you have tried any mice with Kailh switches (MZ1) you know how much better these switches are compared to stock Omrons.
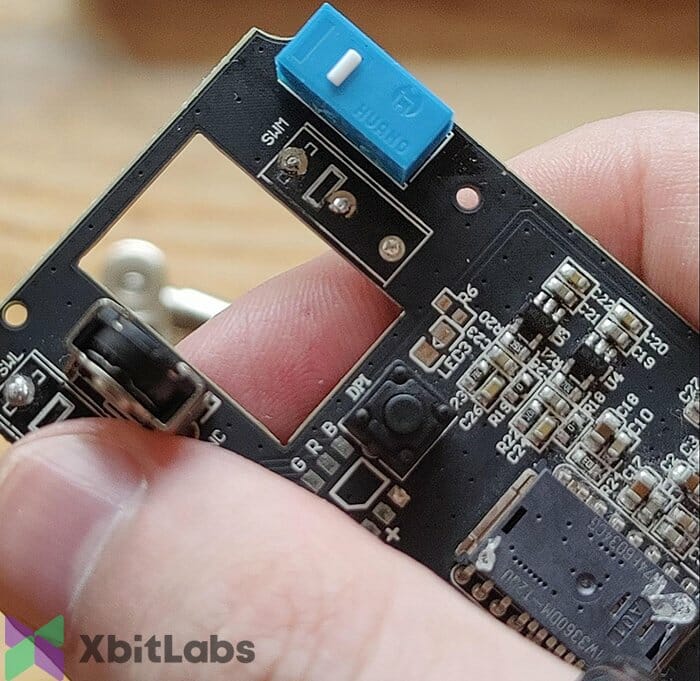
There is a vast variety of mouse micro switches you can try but most people will use Kailh, Huano, or TTC switches which are SIGNIFICANTLY better than Chinese Omrons in terms of click feeling and tactility.
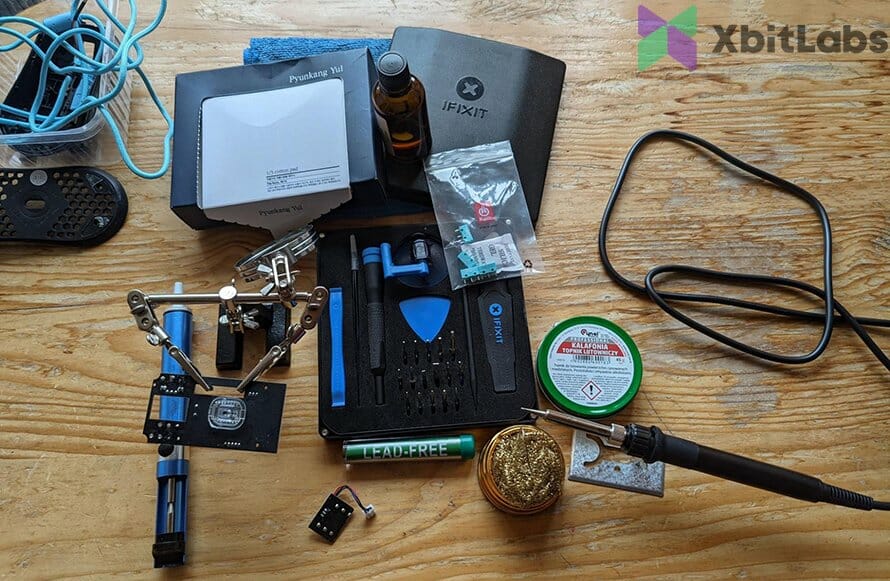
What Are the Tools You Need?
To be able to complete this mod successfully you will need a couple of items.
- Soldering iron
- New switches that you like
- Helping hand – soldering stand
- Soldering wire
- Solder pump
- Soldering iron tip cleaner
- Flux
- Tweezers
- The PCB of the mouse you already took apart
- A fan to blow away the toxic smoke from the soldering process
- Alcohol wipes to clean the flux from the PCB after the process is completed
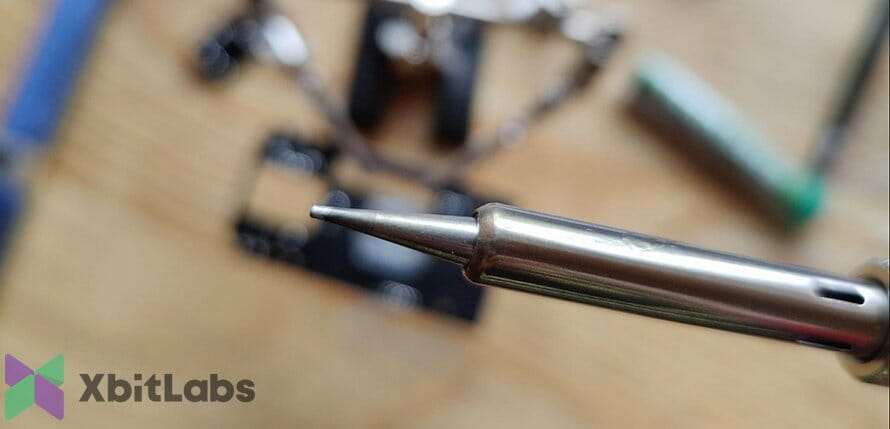
An important tip is to have a pretty good soldering iron. I have tried to execute this mod with a 30W soldering iron and it was simply too weak to desolder the old switches out. It did fine at soldering but that was not enough.
Currently, I use an 80W temperature-controlled soldering iron. This is optimal because you do not want to burn your PCB if your soldering iron is too hot.
Attempting to execute the switch swap mod with a bad soldering iron will lead to you ruining your mouse (speaking from experience).
Getting Down to Business!
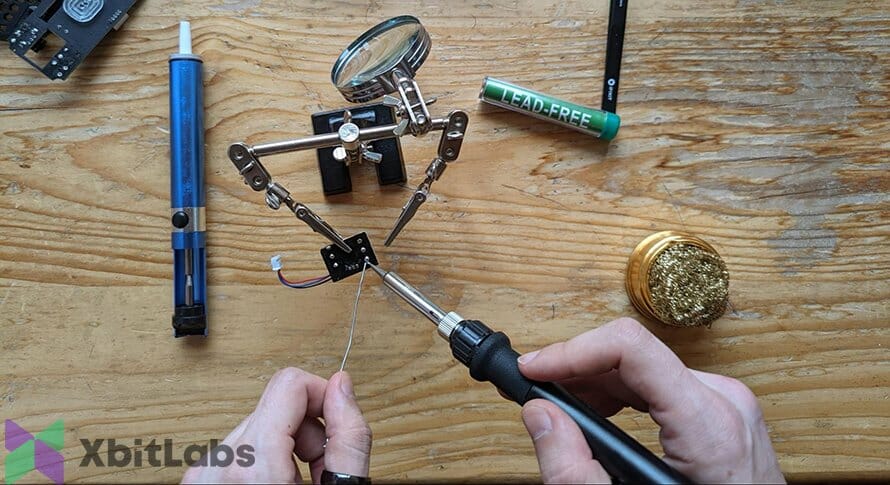
Start the process by plugging in your soldering iron and placing the PCB of the mouse on the helping hands. You can execute the mod without the helping hands but it will be A LOT HARDER (once again speaking from experience).
Set the temperature of the soldering iron to 340-375 degrees Celsius depending on the type of soldering wire you will be using. If the wire has lead 320-340 degrees will suffice. If you are using a lead-free soldering wire you will need higher temperatures to properly work with it.
Once the iron is hot take some soldering wire and apply it on the tip of the iron to prepare it for future work. Clean the tip in the tip cleaner and you should see a nice polished soldering iron tip ready for action.

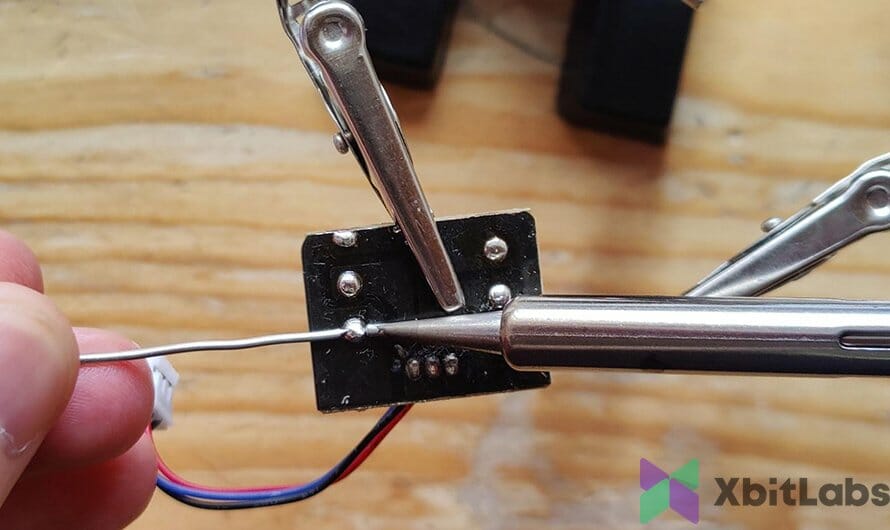
Select the switch you will desolder first and apply some new solder to it by touching the tip of the iron with the wire at the base of the pin. It should swiftly melt, coating the old solder with a new one making it easy to take the switch out.
Most switches have 2 holes in them – take the tweezers and put the tips in those holes. Heat the 3 pins simultaneously by holding the iron horizontally and touching 2 pins at a time. The solder should melt quickly.
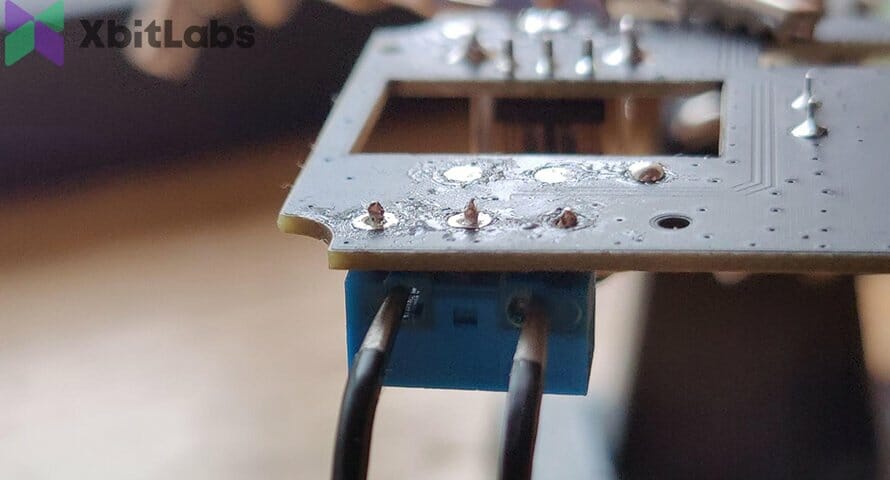
Pull down slightly with the tweezers while the solder is liquid to gently take out the old microswitch.
Pick up your pump and iron and while heating the leftover solder suck it up with the pump so you can clearly see the connector holes in the PCB.
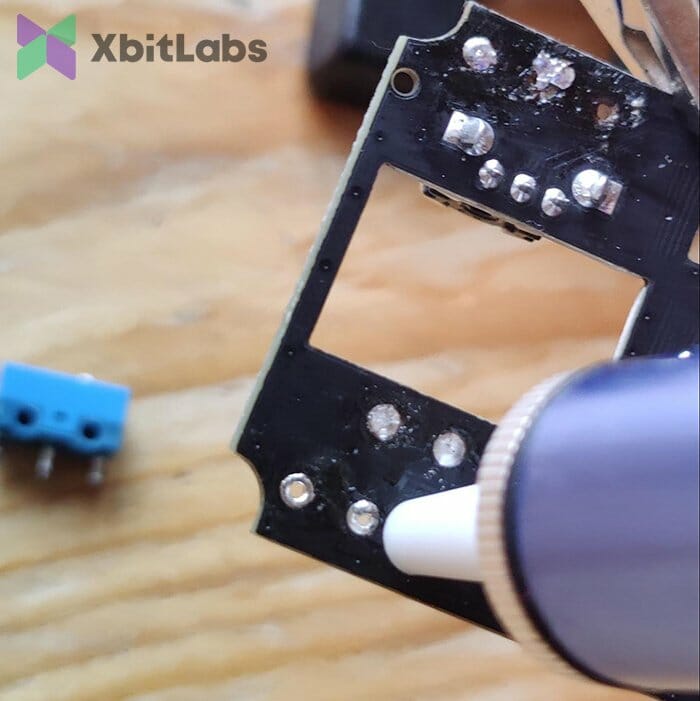
Take the new switch that you want to place into your mouse and slot it into place. Make sure the switch is flush with the PCB and that it is facing the correct way! Apply new solder onto the middle pin so the switch will sit in place.
The method of applying solder can be by touching the pin with the iron and the soldering wire from opposite sides, or you can keep the soldering wire and the tip of the iron together and create a nice cone around the pin.
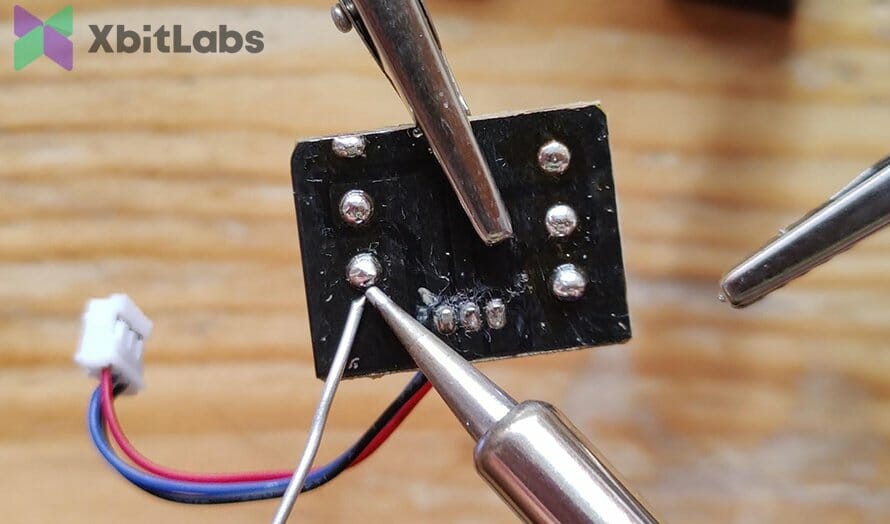
Do the same for the 2 other pins and you have completed your desoldering/soldering process.
Make sure to not accidentally touch the PCB/other connectors/traces with the hot iron because you might ruin the mouse.
If you are having troubles desoldering or soldering apply flux to the pins you are working with. This will increase heat conductivity and will help you out. Usually, this is not absolutely necessary because the soldering wires have flux inside of them.
If you are using acidic flux make sure to wipe it off with alcohol wipes/brush after the mod is done because it can eat away at electronics!!!
If you feel that the PCB is getting too hot, desolder one switch and let the components cool down. YOU DO NOT want to ruin the PCB since that means your mouse goes Kaputt and there is not much you can do about it afterward.
Keep a fan always blowing so you do not inhale the toxic smoke from the process of desoldering/soldering.
To test your work just take the cable you plugged out of the PCB and connect it once again. Plug in the PCB to your PC and test to make sure the mouse clicks are operating as intended.
If everything works fine all you have to do now is to assemble the mouse once again around the PCB.
With this, your advanced mouse mod of changing the switches is completed!