Cloning Your Windows Drive to SSD – The Fast Way to Set Up a New SSD
There are many ways in which you can make your PC more responsive during gaming, which in turn will make your experience a lot more enjoyable.
The main thing to remember is that the process of optimizing your PC for gaming or heavy-duty tasks starts with selecting the proper hardware for your build. Although a properly built PC should last you for a long time certain technologies advance rather quickly and are not costly to implement in your build – storage devices.
If you wanted to upgrade your storage devices from an HDD to an SSD or even from a smaller/slower SSD to a bigger/faster SSD then you might have realized that along with that process you are basically subscribing to a new install on Windows since there is nothing on the new drive.
Although most people would just go through that process, there is a faster, easier alternative that can make the process of swapping HDDs and SSDs a lot more tolerable – cloning.
What Is Cloning?
The process of making a copy of your current drive bit by bit onto another drive and then using the new drive as your main bootable drive is called cloning.
The main reason you cannot just copy a Windows installation to another new drive just by dragging your files over is that Windows actually creates separate partitions on your drive and keeps different files in different places that are inaccessible to most users.
This is specifically why cloning is needed to take all of your boot drive data and move it to another drive that in the end will be an identical twin of your original drive.
Are There Any Risks During the Cloning Process?
The process of cloning is safe and most modern software that can be used for cloning your drives takes precautions to not delete or corrupt your data.
The new cloned drive will behave exactly like your old one and there will be no difference whatsoever in performance or settings. Everything will be the same.
This is obviously desirable, but in case your old installation of Windows is experiencing slowdowns and does not work as well as you would want, the cloning process will not solve this issue. Since the cloning process is a perfect bit-by-bit copy all of your issues will be transferred to the new drive so make sure you are transferring a fully functional system!
What Software Should You Use For the Cloning Process?
Whenever you open Google and search for this topic you will most likely get 1000 answers and options but for the purpose of safely and surely getting a bit by bit copy of any drive, we used the AOMEI Partition Assistant.
The main reason for our choice is the fact that we have already used this software before to transfer a Windows install from a SATA SSD to an NVME SSD and the process was extremely simple and fast.
The software babies you around telling you what to click and what to do, resulting in very few chances you somehow still mess up.
How to Clone Your Windows Drive
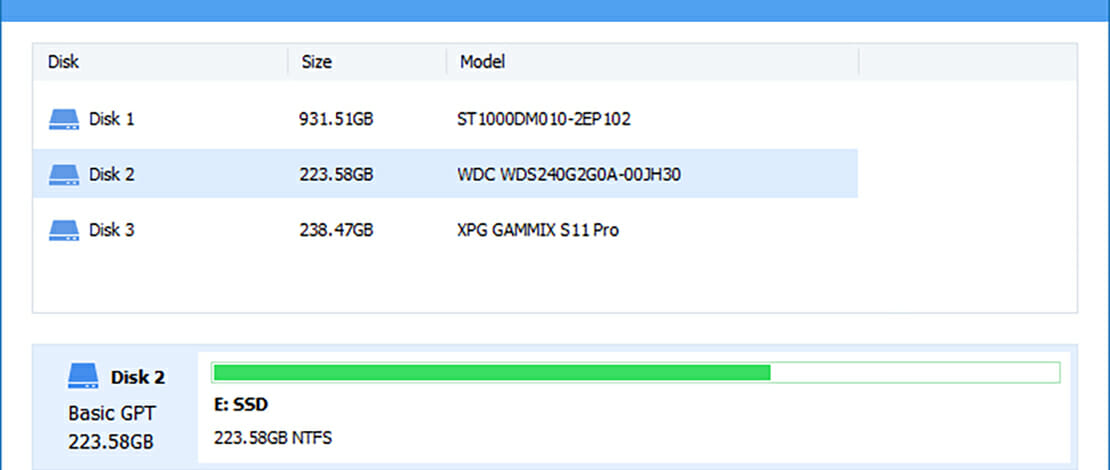
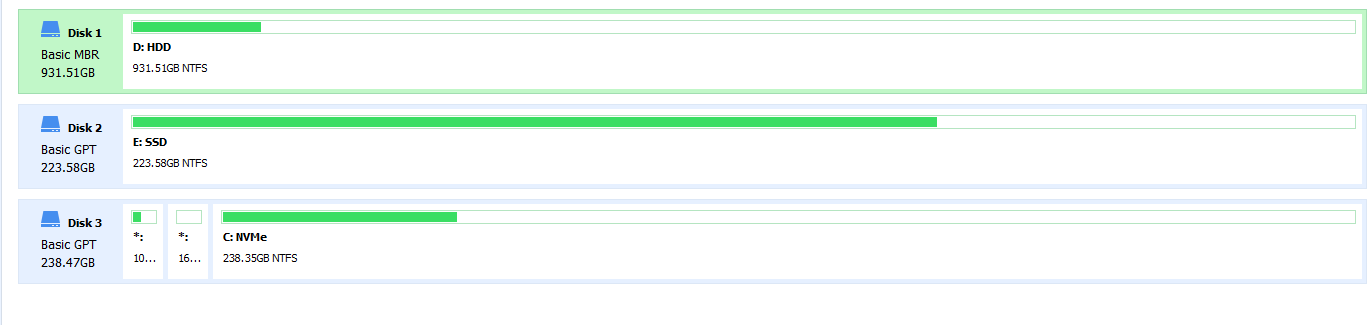
First of all, open the AOMEI Partition Assistant and figure out which drive you want to clone and what is the target drive.
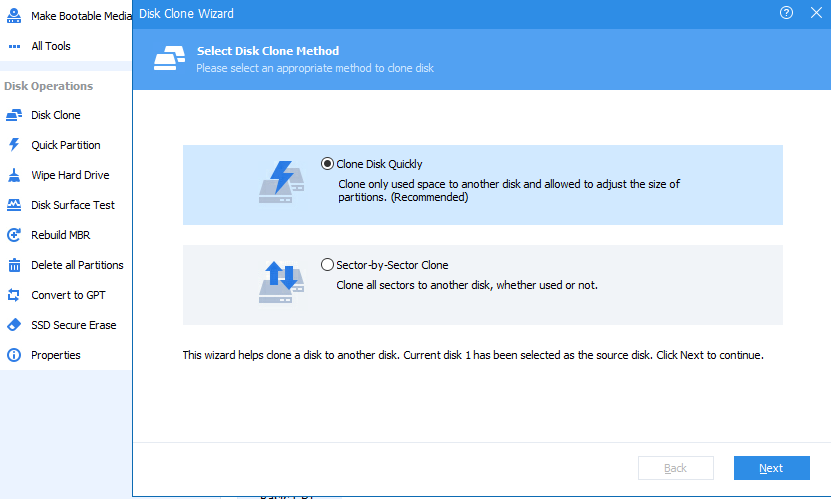
On the right side of the menu select the Disc Clone option and go with the Clone Disk Quickly option.
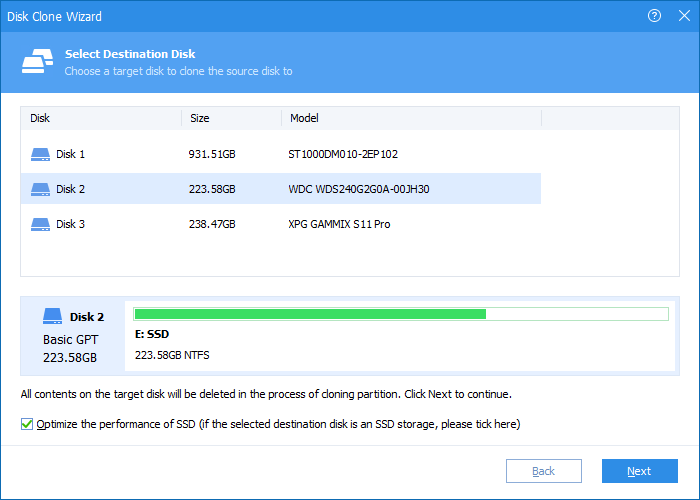
Select the drive you want your data to be cloned to and if that drive is an SSD do not forget to tick the option to optimize performance!
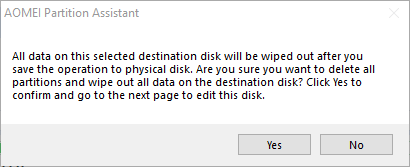
Once you do this the software will tell you that you are about to format the disk new drive you want to clone to which is fine so just click yes and follow the prompts.
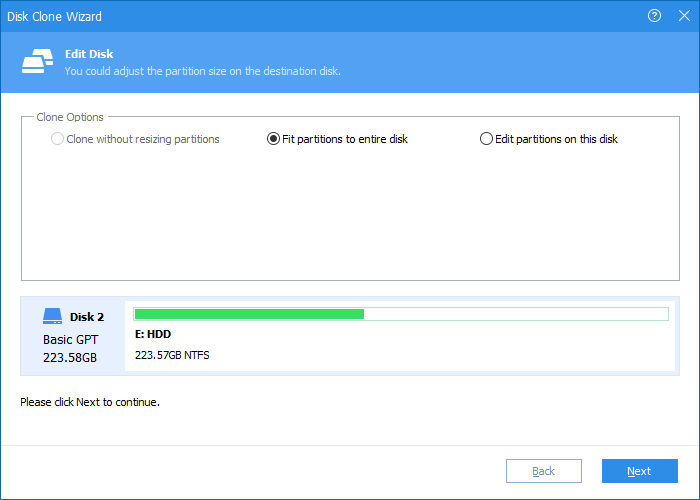
Next, you select which type of adjustment and partition sizing do you want for your destination disk.
The last step of the process is to simply click finish and click Apply in the main interface that then will give you the option to finish the process in the PreOS.
With this you simply restart and you should see a simple interface that is showing you the process of data cloning that is happening currently on your drives. Depending on the amount of data and what kind of drives are involved in the process of cloning this operation can take anywhere from 30 minutes to many hours so be ready to give your PC some free time.
After the process is done you should boot into your BIOS and make sure to select the new drive you have cloned your Windows to as your main boot drive. Once in Windows format the old drive and simply use it as a storage device.
With this, you have all of your data untouched on a new drive and things will almost seem like nothing ever changed in the first place! Happy cloning!