How to Stress Test CPU
Installing a new CPU or replacing the thermal paste on a CPU should always be followed by a round of CPU stress testing to check out if thermals are in order. Overclocking or undervolting a CPU should also be accompanied by lots of stress testing since here we’re not only looking at thermals but also stability. How you should stress test your CPU? Which programs should you use? And which stress test apps are the best? Read the answers below.
When You Should Stress Test Your CPU?
When you build a new machine, half an hour of GPU and CPU stress tests are always welcome. Some people also like to performs CPU stress test all-nighters but these are only recommended when overclocking.
Next, each overclocking step should be followed by a short stress test. And once you find the peak stepping, it’s time for longer tests. When undervolting CPUs, a successful boot into Windows should be followed by a CPU stress test for stability purposes.
Also, when you replace your cooler, do some testing to see if it all works as intended. The same story goes each time you apply a fresh coat of thermal paste. Finally, if you start experiencing crashes and BSOD situations, torturing the CPU should be one of the first troubleshooting steps.
How To Stress Test CPU
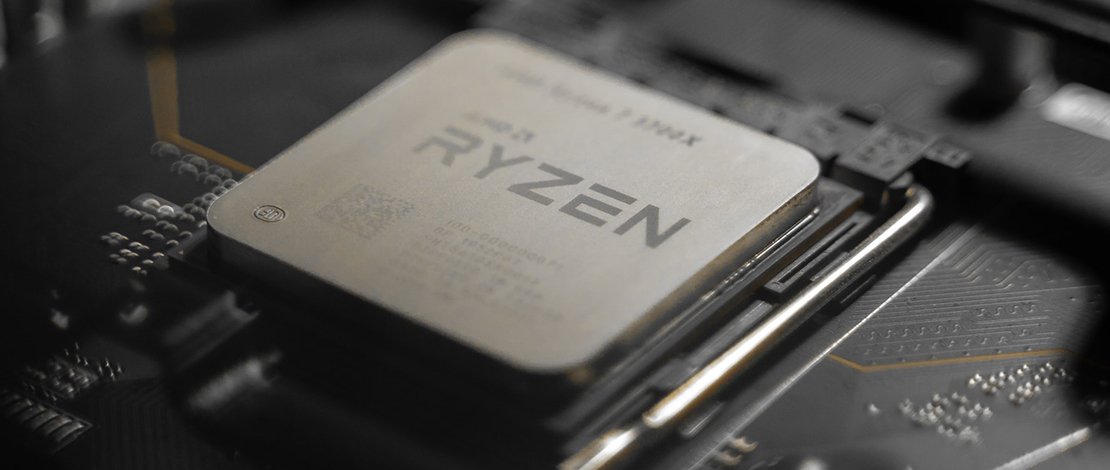
Different situations ask for different stress tests. Prime95 is an old but still excellent tool for all kinds of CPU torture tests. When you build or buy a new machine, run it for a couple of hours to see just how efficient your cooling and airflow are, as well as to see whether the system runs stable.
After you’ve done with Prime95, an hour or so playing a CPU-intensive game should give you topped out thermals of the whole system. Games are also great real-world tests for both CPU and GPU since they use the whole system, not just single components.

A similar recipe applies after you replace thermal paste or the cooler. An hour of Prime95 should be more than enough. The test shouldn’t last longer because, unlike when testing a new PC, you don’t test stability here, just thermals.
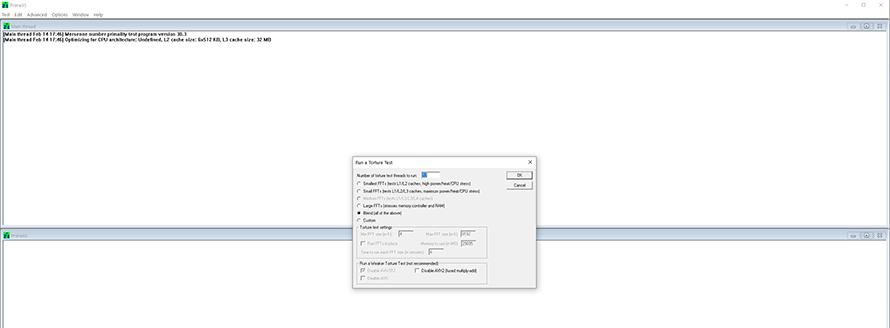
When overclocking or overvolting, the first thing you should do is perform a couple of runs of both multi and single-threaded Cinebench R20 or R23 benchmarks. If all goes well, spend a couple of hours in Prime95, and then game for an hour. If all tests run successfully, you could let Prime95 run overnight as a sort of final confirmation that the OC is stable enough for regular usage.
When it comes to the monitoring software, focus on CPU thermals but also thermal data from motherboard sensors. For instance, Mos sensors show you VRM temperature, which could throttle your CPU if it goes too high (over 90 degrees Celsius or higher).
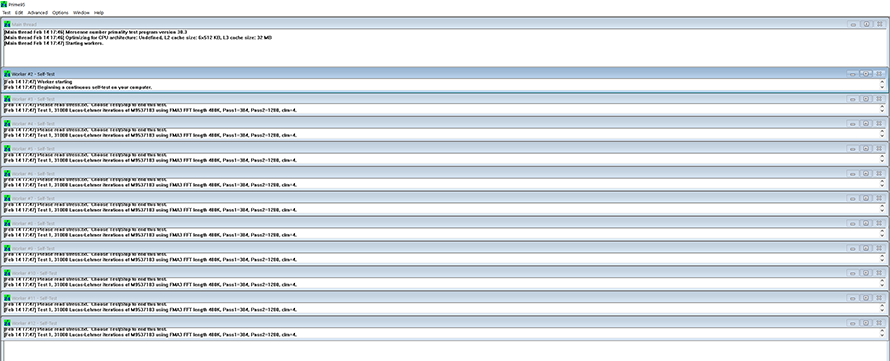
Now, when you open Prime95 you’re greeted with lots of different settings, so let us explain which settings to use depending on your use case. When testing a new build, you can just select the “Blend” option. It combines all other tests and is great for new systems because this way you can test both the CPU and memory. Important since most RAM modules nowadays use some sort of XMP. If the app, or any of the threads, doesn’t crash or stop running, you’re fine.
Next, when overclocking, first use the “Large FFTs” test to test your XMP memory profile. A couple of hours should be fine. The large FFTs test should be followed with a “Small FFTs” test, which is the most demanding CPU torture test found in Prime95. This one can sweat even the most powerful CPUs.
If you want to test single-core boost clocks, select only two threads (one physical core) in the “number of torture test threads to run” option in Prime95. When overclocking, especially Intel CPUs, it’s worth testing the system in a demanding game to see if the whole system’s stable when the CPU is overclocked.
Finally, when replacing thermal paste or installing a new CPU cooler, half an hour to an hour of Small FFTs is recommended. Now, since the Small FFTs test puts an unreal strain on the CPU, you should also perform hour-long gaming tests where you should get a realistic look at your CPU’s thermal performance. Or, you can use Aida64, which doesn’t unrealistically push the CPU like Prime95.
The Best CPU Stress Test Tools
Check out the best CPU stress test you can use below. When it comes to online CPU stress tests, we don’t recommend using them. It’s better to use a tried-and-true tool that’s available for free than a shady online tool. Also, most CPU benchmark and stress test apps are extremely lightweight and downloading them shouldn’t be an issue even if your internet connection is slower than slow.
Prime95 – This is a very old but still relevant CPU stress test tool. It’s updated for modern CPUs making it the best free CPU stress test you can get.
Aida64 – Not as punishing as Prime95, but still a solid way to test your CPU more realistically. It’s not free, but comes with a 30-day trial period.
Cinebench R20/R23 – When benchmarking your CPU, Cinebench R23 is a bit better because it runs each test three times by default, giving you more precise results. But when torture testing your CPU, there’s no difference which version you’re using. Both versions of the benchmark have a custom stress test duration option.
CPU-Intensive Games – Gaming for an hour or two is a great way to conclude stress testing the CPU after getting affirmative results in Prime95. As good as it is, Prime95 cannot put the whole system under strain. On the other hand, cruising through Night City in Cyberpunk 2077 will tell you whether your system can handle the CPU being OCed. Other great games to test the CPU include Shadow of the Tomb Raider, Assassin’s Creed Odyssey or Valhalla (especially to test single-core boost), Civilization VI (just get a late-game save file and start ending those turns), as well as any recent Total War game (again, late-game save files are recommended).
CPU Monitoring Tools
HWiNFO – The best monitoring tool you can get. It’s free, it gets constant updates, it works great with a wide range of hardware, and it’s lightweight.
HWiNFO + RTSS – You’ll need this combo to monitor CPU thermals while in-game. Once you install HWiNFO get RTSS (Riva Tuner Statistics Server) and install that one too. Next, open RTSS and turn Stealth Mode on (allowing the app to work with some multiplayer games). After you’ve done that, open HWiNFO, click on Run and then click on the settings button.
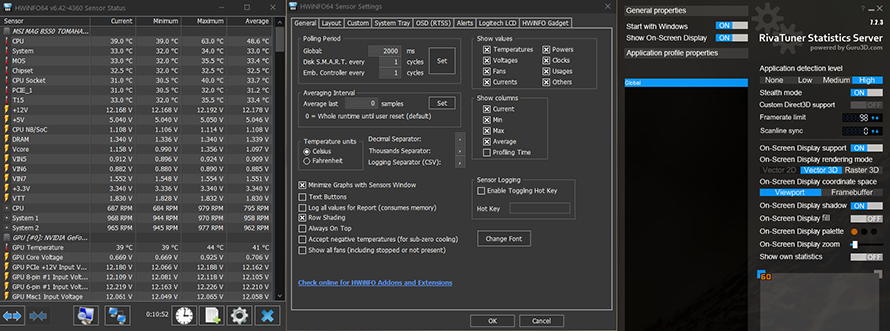
Next, click on the OSD (RTSS) tab. There, assign the hotkey for toggling the OSD and then select which data you want the OSD to include. Next, click OK. Also, make sure that both the HWiNFO and RTSS are running when you start the game.