Common PC Building Mistakes to Avoid
If you’re a beginner to the PC building world, the concept may seem a bit complex and difficult at first. PC building, however, is not that complicated and once you know the basic dos and don’ts, you can give it a shot yourself.
Here we give you a brief overview of some common mistakes made by beginners:
Know your budget
Dedicate a specific amount that you’re comfortable spending. Then map out your goals; what you want the PC for, and how good you want it be.
Once you know what you want, selecting hardware becomes much easier.
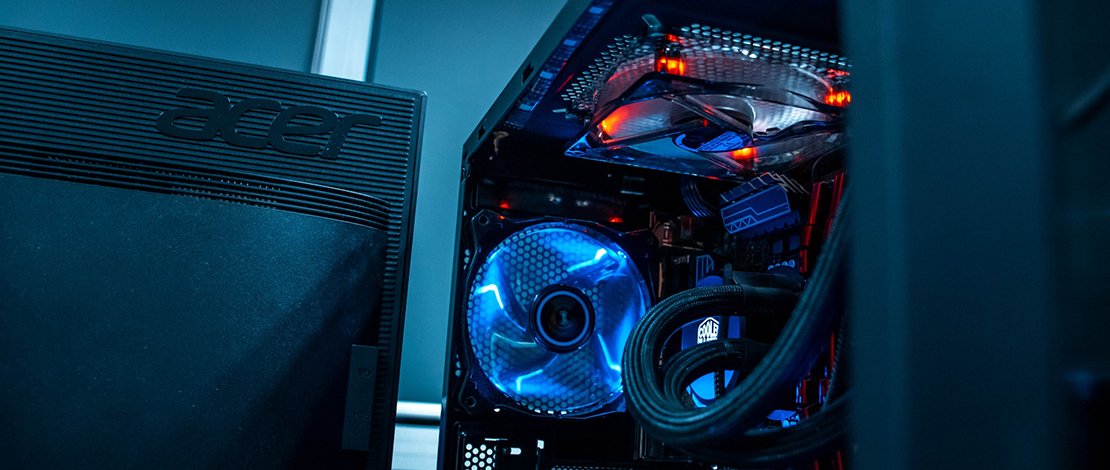
‘Gaming’ gear
If you’re on a budget, or just don’t care about RGB and other tacky ‘gaming’ aesthetics, avoid fancy-looking hardware. It’s expensive, with no effect on performance.
There’s a thriving market of minimalist PC components that will be much easier on your bank balance.
Educate yourself on Potential Bottlenecks
When picking out parts for your PC, you should ensure that your chosen hardware does not bottleneck other components. Do your research before buying.
You can severely throttle your PC’s performance by pairing hardware with huge performance gaps.
Don’t skimp on the Motherboard
You’re going to be installing everything into the motherboard, so check if you have the compatible slots. Then there’s also XMP support for RAM.
Take into account any future upgrades; and if you want to be using the same board, get one that fits your needs. Getting a cheaper motherboard can also lead to BIOS issues in the future.
Get an SSD, at least for the OS
Your first choice for data storage should be SSD now. SSDs are much more affordable and can compete with HDDs for sheer volume. Their true edge though lies in their fast boot times. Unlike HDDs they do not need to spool up to get the data going.
But, if you’re unable to get one for the whole system, consider at least getting a lower capacity one for your OS.
This single choice will make your future PC usage much smoother, as booting off an SSD is way faster than an HDD.
Don’t neglect your monitor
No matter how good a GPU you run, if your monitor cannot keep up, it’s all a waste.
Know your goal resolution, be it HD, 4K or 8K, and then pick the one that suits you. Also know that your excess FPS doesn’t matter if your monitor cannot give you an equal refresh rate.
TN panels can give you high refresh rates and better response times, while IPS panels offer better viewing angles and more vibrant colors.
Warranties
For core parts, like the CPU and GPU etc. buy them only from reputed retailers which offer decent warranties and return policies. Also keep your receipts and invoices safe, in case you need them in the future.
Install components in an order
Smaller components should be a priority; RAM modules and SSDs are easier installed first, and bulkier components like GPUs and aftermarket coolers should be installed last.
The idea is that you do not cramp up the space first, making it harder to install further components.
Map out the wiring
Either in your head or on paper. A little planning can prevent a lot of frustration.
Locate your ports; SATA, 24 pin, 8 pin, audio, CPU fans, PCI etc. Get an idea of how you want to manage their wiring.
Keep a tab on your screws
There’s going to be a lot of screws involved; keep them separate, in containers or baggies, because you’re bound to lose some if you just leave them strewn around.
Install your RAM to be dual-channel
If you’re working with 2 RAM modules, install them in DDR4_A2 and DDR4_B2 slots to keep the memory configuration dual channel.
For most new RAM kits, you will also need to enable XMP memory profiles to get the best performance. This can be done in the BIOS, and you can check your motherboard manual for better guidance.
The Right Connection does not need to be forced
Take this however you want, but for PCs if you’re forcing a connector into a slot, it does not belong there. Similar notches can confuse beginners, so once again if it doesn’t fit, don’t push.
Managing Thermal Paste
A small half pea-sized blob of thermal paste should be enough to cover the whole CPU. The biggest issue arises when people use either too much or too little paste.
You just want it to be enough to cover the whole CPU without spilling. Mounting a CPU heat-sink will apply sufficient pressure to distribute it evenly across the CPU’s surface.
You want the thermal paste to be sufficient enough to fill away any small gaps, and to be able to conduct heat properly for maximum heat dissipation.
Overclocking
Overclocking is not suited for beginners and provides very minor benefits while lowering your CPU’s lifespan. If you’re really keen on overclocking, a safer option would be to get AMD’s factory-overclocked CPUs.
Manual Overclocking is strenuous, requiring continuous trial and error, stress tests and tweaking with the BIOS.
Managing Cooling
Unless you’re doing some intense overclocking, a decent air cooler can give you all the ventilation you need to keep your temps under check. You do not need to spend a lot on cooling, as the returns are very minor from a good air cooler to a great air cooler.
Liquid cooling is something that is only suitable in massively overclocked builds, so for the average user these solutions are more of a novelty.
Get a PC case that is easily ventilated, for maximum airflow.
Get a good PSU, Seriously
Get an 80 plus PSU if you can. As a rule, get a PSU with a capacity of about 20% more than your system’s total power needs.
Additional fail safes are always good.
Avoid tweaking the power supply or trying out any weird electrical gimmick unless you really know your stuff.
Manage your work environment
Ground yourself, and avoid any risk of static building up. You’re working with delicate electronics so you’re better safe than sorry.
Build your PC in a spacious area so that you have sufficient room for parts and stuff.