How to Run a PowerShell Script on Boot With Task Scheduler
If you have sourced or written a Windows PowerShell script you need to run whenever your machine boots, it might be easier to simply automate the process by using the Task Scheduler. This quick process will give you one less task to worry about and ensure your settings are always correct.
PowerShell
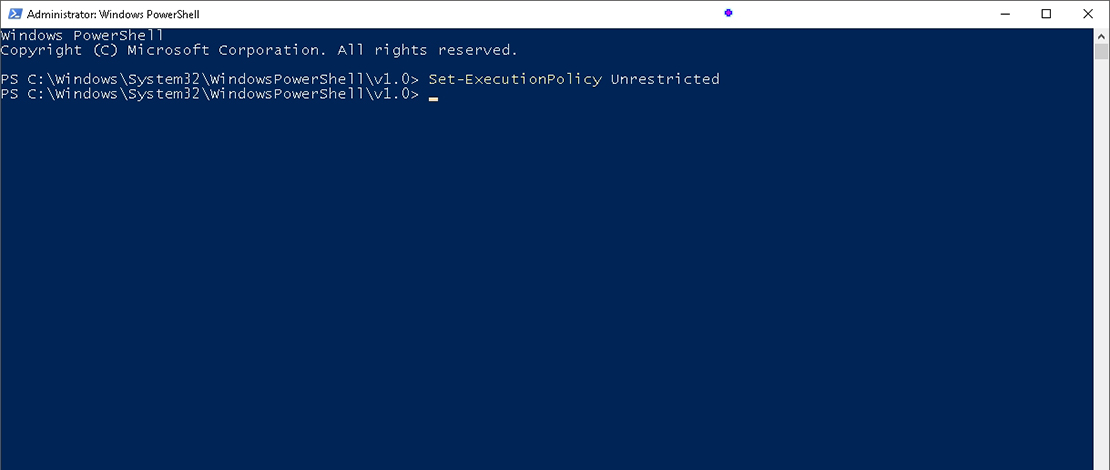
The first thing you want to do is to locate your PowerShell script and make sure the file is set to be read with PowerShell and that you have an unrestricted policy for running scripts for your machine. This will allow the task to run your script on boot without needing extra permissions.
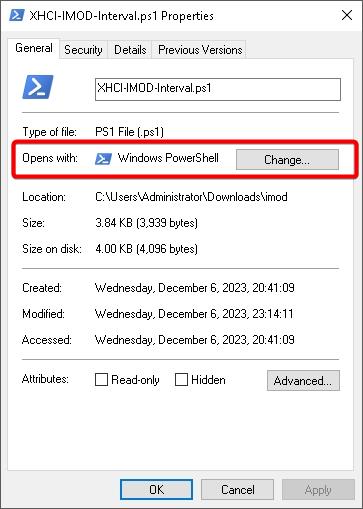
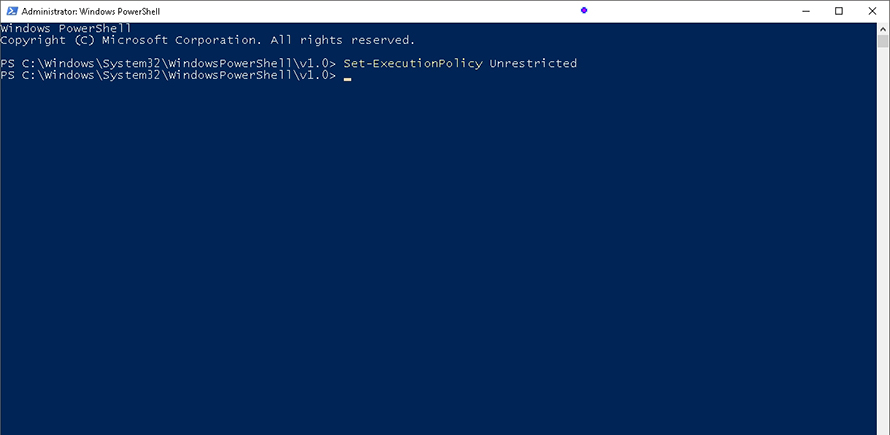
To do so you need to open PowerShell and use the Set-ExecutionPolicy Unrestricted command. With these settings done you can configure your actual task through Task Scheduler.
Task Scheduler
Open your Task Scheduler and create a new basic task:
- Give the task a name and go to the next page
- Set the task to be run when you log onto the computer
- Select the Start a program functionality
- The important bit comes here: in the program/script tab select PowerShell which can be found in C:\Windows\System32\WindowsPowerShell\v1.0. In the add arguments space locate your script which should be somewhere on your disk C.
- Tick the open properties option and click finish – on the last page make sure to tick the run with highest privileges option
With this, you have enabled the Task Scheduler to run your script on boot without you having to do it manually.
Why This Method?
The main reason I have been using this method to run PowerShell scripts is because this seems to be the most consistent way to get them to actually run. You could run them through shortcuts or other methods but for me more often than not that would just end up with the script not running properly.
This could be a skill issue on my part, but since this method is very simple and works well for me, I might as well share it with others who are struggling as well.