Changing the PCB in Your Faulty Keyboard
As mentioned in this article, a faulty PCB is a common issue that could potentially leave your keyboard unusable. If you are using a custom keyboard or are a little bit handy you can swap the faulty PCB out and install a new one bringing your board to life.
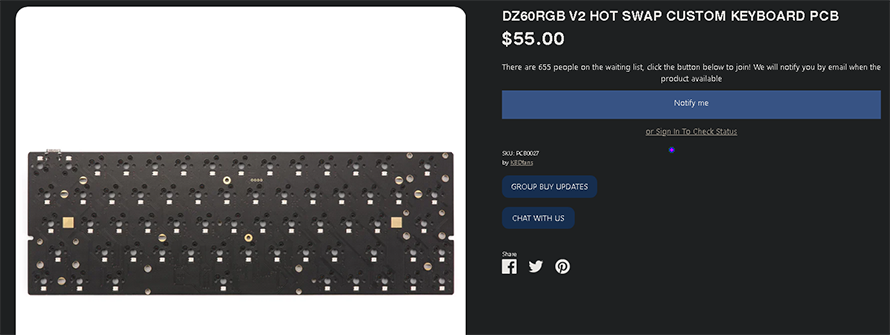
In my case my DZ60RGB V2 PCB that I had used in my KBD Fans Tofu died so I got a new one and got to work.
Find the Correct PCB
In my case I knew exactly what PCB to buy and where to get it, but if you are not quite sure yet it is better to do more research than buy the wrong one. The PCB dictates the layout of your keys so buying the wrong one will lead to it not fitting in your case, not fitting with the plate, etc.
Do your research thoroughly and only after confirming everything buy the replacement PCB.
Step-By-Step Process
For anyone that dealt with building a custom keyboard the process will be familiar but I will still give a quick step-by-step run of what I did for the newbies out there.
- Do a quick check on the new PCB to make sure it works before you even start the process!
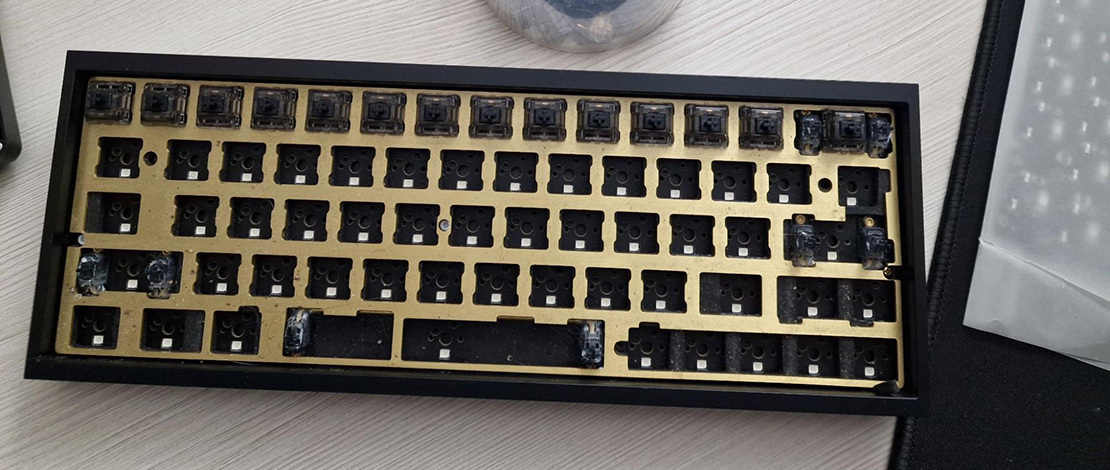
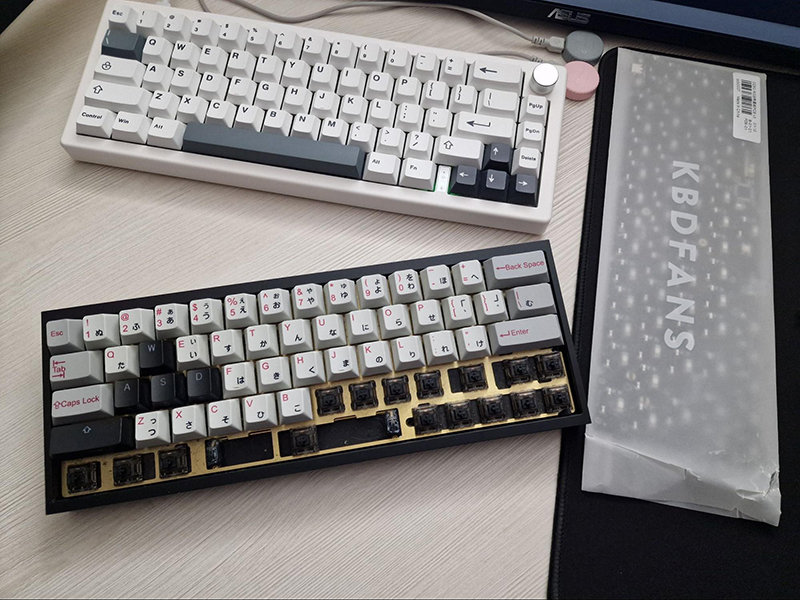
- Remove keycaps – store them on the side in the same layout as your keyboard to make it easier when putting them back on
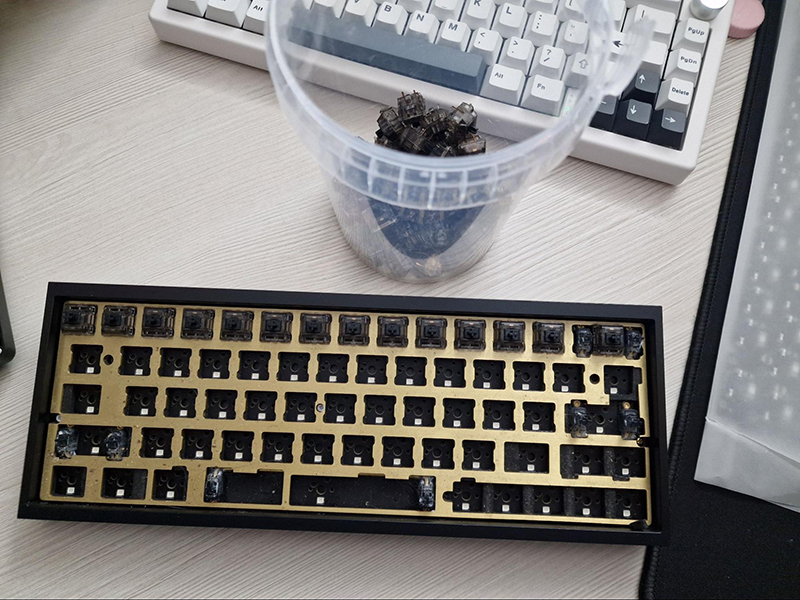
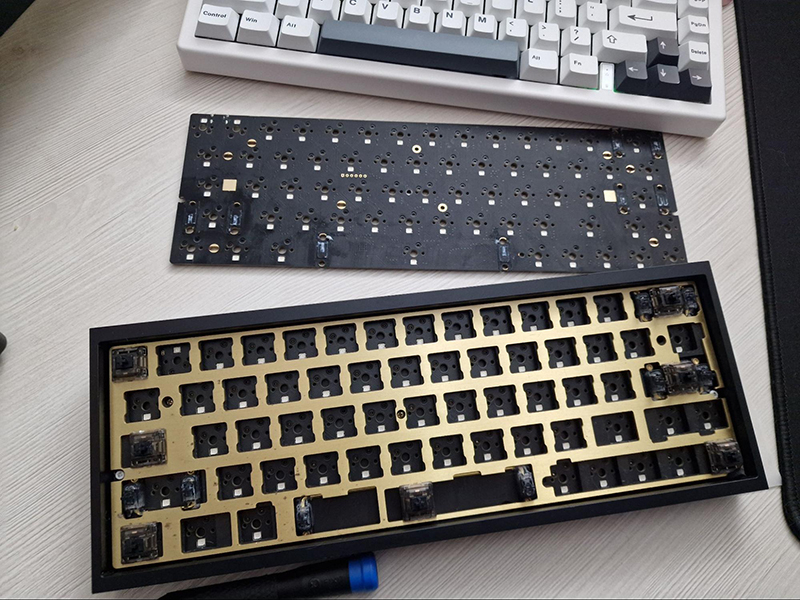
- Pull the switches out – if you do not have a hot-swap PCB then you have to de-solder them which is a pain
- Remove the screws holding the PCB+plate assembly to your keyboard case
- Separate the old PCB from the plate and from the foam if you have some
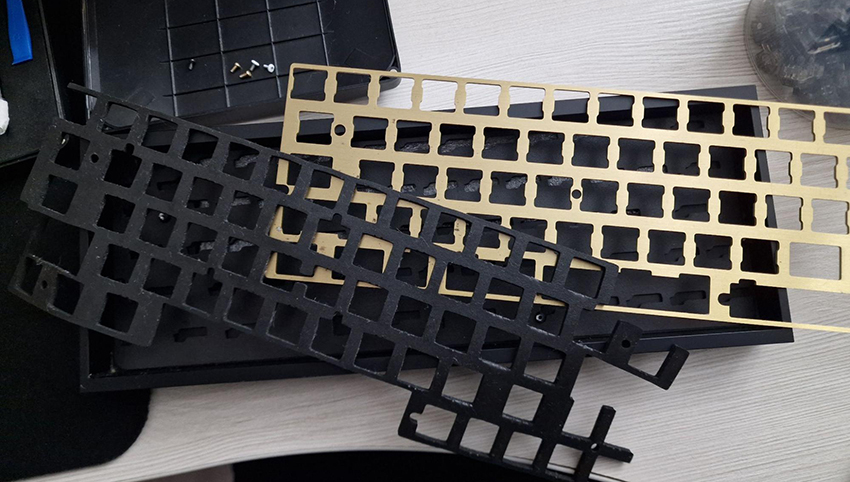
- Remove the stabilizers from the old PCB and put them on your new PCB. You can check them again just in case if you want to tune them again
- Align the plate with the foam and PCB and use a couple of switches to hold the assembly together – you can either put all of the switches in now or after you screw in the assembly into your case
- Put all of the foam/mounting mods/tape mods and then put the assembly into your case
- Confirm everything aligns correctly – pay special attention to the USB-C connector exiting correctly out of the case – if you choose the correct PCB everything will fit nicely
- Put your keycaps back on and enjoy your working keyboard