New Drive Not Showing Up in Windows
Storage is one of the limiting factors that many gamers come across with the size of games and updates ballooning lately. The issue can be quickly fixed though by adding extra drives, and with the prices of SSDs going down you can even buy a couple extra drives to be sure.
A very simple and common issue that people have while upgrading their storage is the drive not showing up in Windows after booting their PCs. While the chances of your new storage device being dead are not 0%, there are usually a couple of other steps that can fix the issue for most people.
Disk Management
The very first thing you should try is to initialize the new drive and then take the unallocated space and create a New Simple Volume.
- In your search menu type Disk Management
- Select the new drive that should be marked with a black stripe instead of a blue one – right-click it and select Initialize Disk
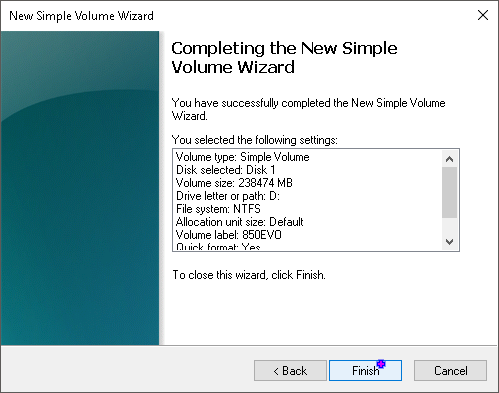
- Right-click the unallocated drive and create a New Simple Volume by following the prompts on the screen


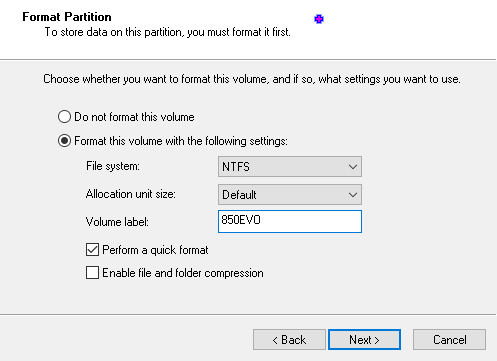
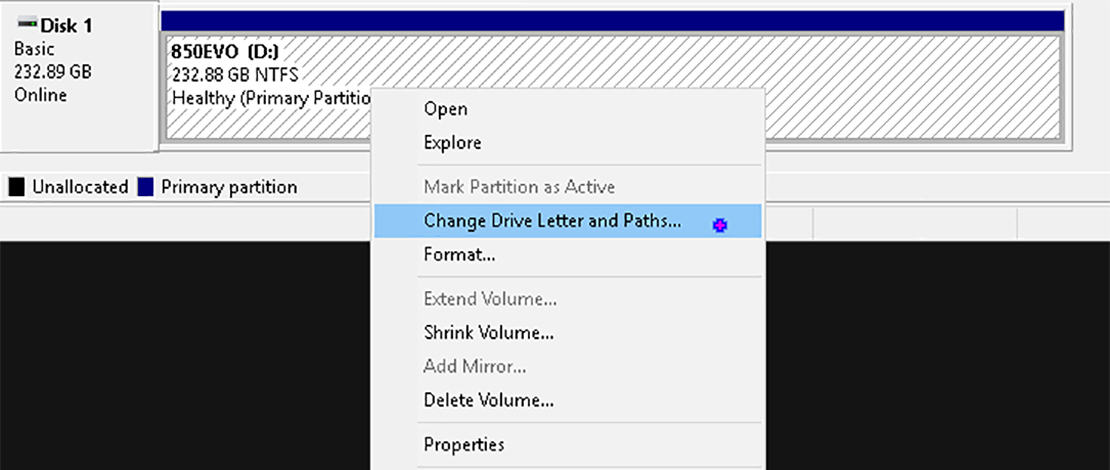
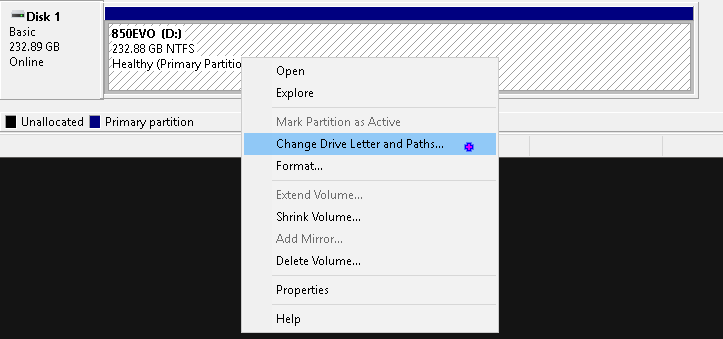
If the drive is still not visible, use the Disk Management window and try formatting the initialized drive again, or assign it a new letter (all done by right-clicking the drive in question). In some cases, this helps the operating system see the new drive you have plugged in.
Hardware
If the drive is still not visible you might have to fiddle with your hardware to see if you can get the drive to initialize. The first thing you should do however is restart your PC and open Disk Management again – sometimes a restart is all the system needs.
If the restart did nothing you should power off your system and check the storage drive itself. If it is a SATA device make sure both the power connection from the PSU and the data connection going to the motherboard are plugged in properly.
You should also try using a different cable for the power/data and change the SATA port on the motherboard you are using to eliminate any variables.
If you are using an M.2 drive (SATA or NVMe) make sure you plug in the device properly and it is screwed down safely. Try using secondary NVMe ports if you have those on your motherboard. If none of these modifications change anything and you still cannot see your drive in Windows, perhaps your storage device is faulty, and you need to get a replacement.