Mod List for the Wooting 60HE
While the Wooting 60HE is undoubtedly the best keyboard when it comes to performance, other aspects like looks, feel, and sound leave much to be desired from a product with such a price tag. The Wooting 60HE however is by default mod-friendly making it quite easy to elevate the experience to a truly premium one.
Keycaps
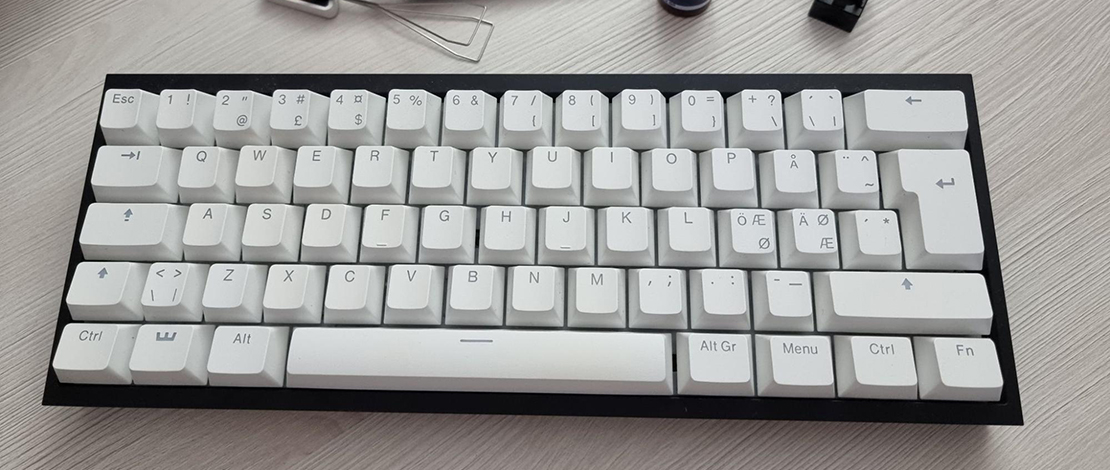
The default black PBT keycaps the Wooting comes with are not exactly unique or very inspiring so the very first easy mod you can do is to change them for something more aesthetically pleasing. The keycap choice is entirely up to you and what look you are going for.
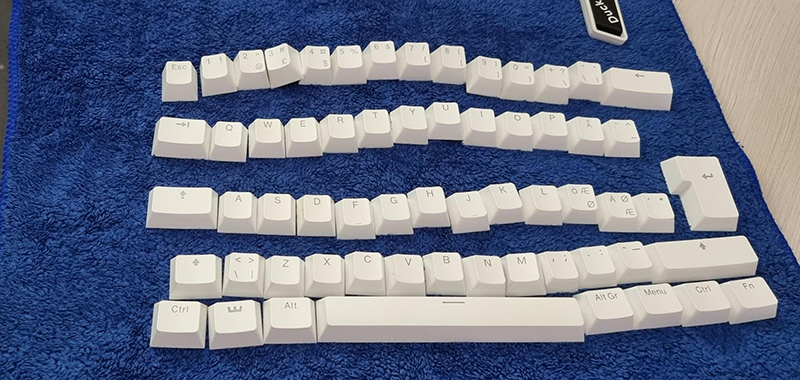
You can experiment with a couple of colors and keycap profiles until you find one that suits you the most.
Custom Case
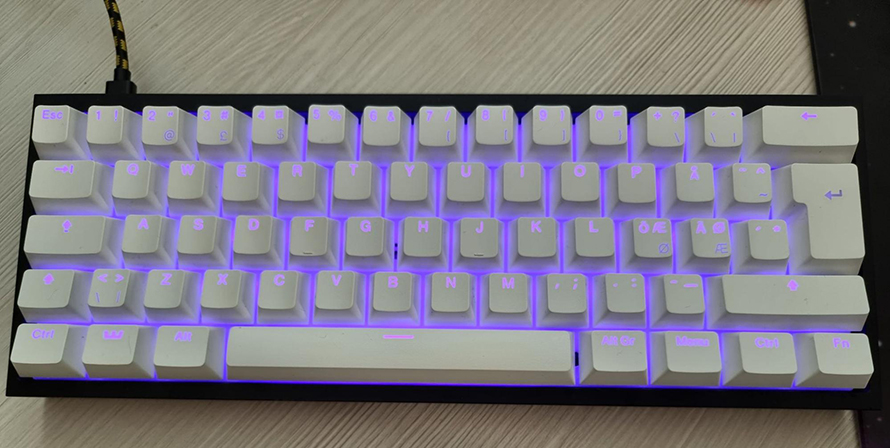
The basic plastic case that the Wooting 60HE comes with is probably the weakest point when it comes to the look and feel of the keyboard giving it a cheap plasticky vibe. Luckily it is possible to move the PCB/plate/Lekker switches assembly to a different custom case like the Tofu 60.
I moved my Wooting assembly into an aluminum Tofu 60 case which immediately gave it an upgrade in terms of looks and feel. The keyboard suddenly felt like a desirable piece on your table instead of something you would try to hide from your table.
Foam and Tape Mods
To improve the sound of the Wooting while transferring it to a different case you should also either buy or DIY some foam cuts to fill the bottom of the case. This will make the already loud and pingy switches a bit more muted.
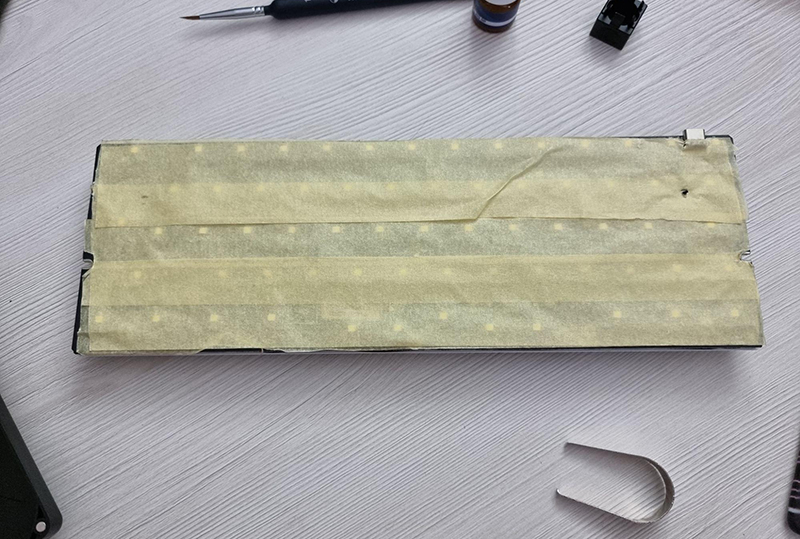
To enhance this you should also use the tape mod on the back of the Wooting 60HE PCB which only takes a couple of minutes. The assembly itself already has foam between the PCB and the plate meaning that you do not have to cut or buy it yourself.
O-Ring Mount
Since we are using the Tofu 60 case it also makes sense to use the o-ring mount which will give the board some flex and help reduce some of the noisiness in the case.
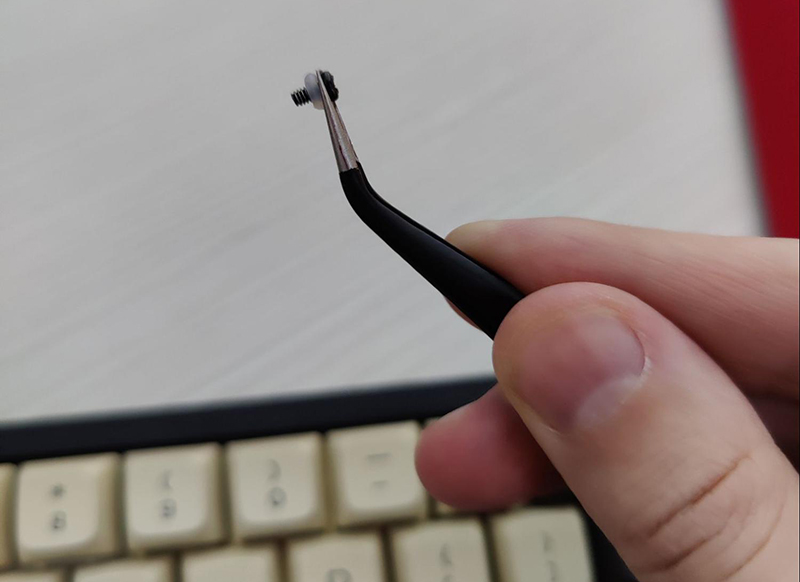
Alternatively, you could also use a bigger o-ring to simulate a full gasket mount but with the Tofu 60 case, you will need to have the top left screw fully set in to get the USB-C port aligned with the cutout on the case.
Lubing the Switches
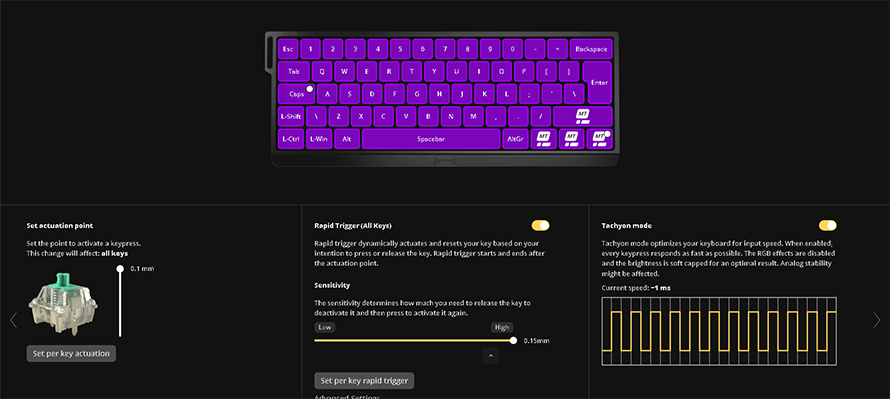
While the Lekker switches use amazing analog technology which allows for a crazy 0.1mm actuation point and rapid trigger functionality, they sound horrible (subjective personal opinion). Coming from a custom keyboard to a Wooting is quite a shocking experience since you are plunged into a rattly, pingy, absolutely abhorrent sound profile.
At first, I thought I was spoiled by my custom keyboard but this experience is quite common in the keyboard space where people did all of the mods mentioned above and were still disappointed in the sound profile of the keyboard.
The only way out of this situation is to lube the Lekker switches which will make them (slightly) better sounding. The main thing to remember here is that you need to be EXTRA careful not to over-lube these switches since they need to be precise (0.1mm actuation).

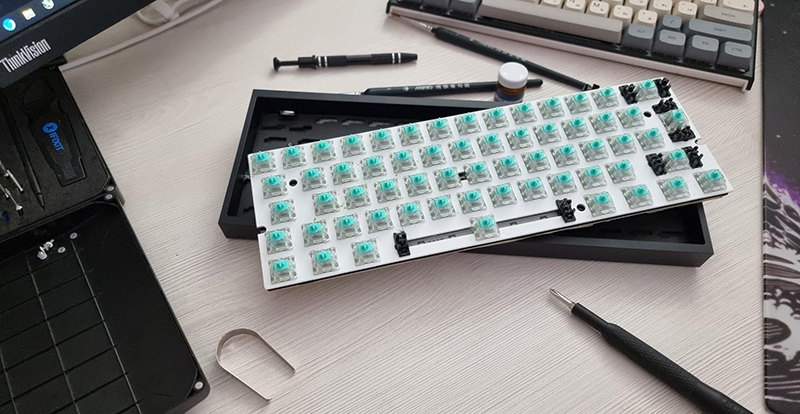
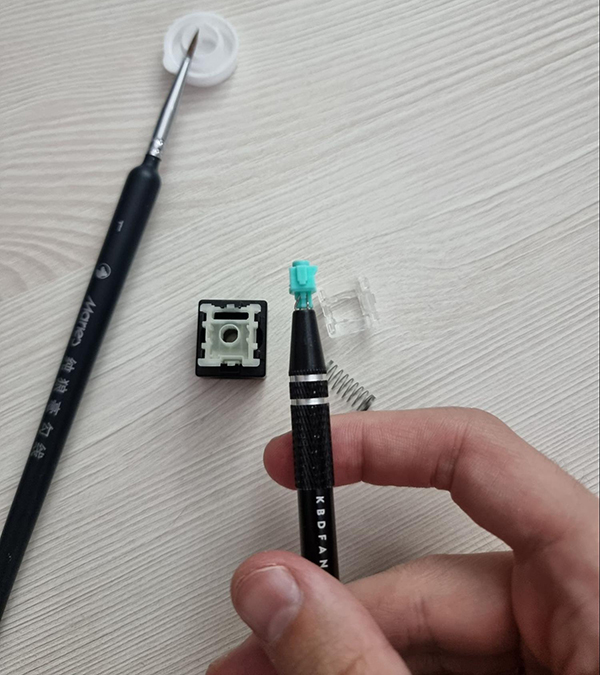
You will need the same basic toolkit as always: Krytox 205G0, brushes, a switch opener, a stem holder, a keycap puller, and a switch puller (you need to have the last two anyway if you plan on doing the other mods).
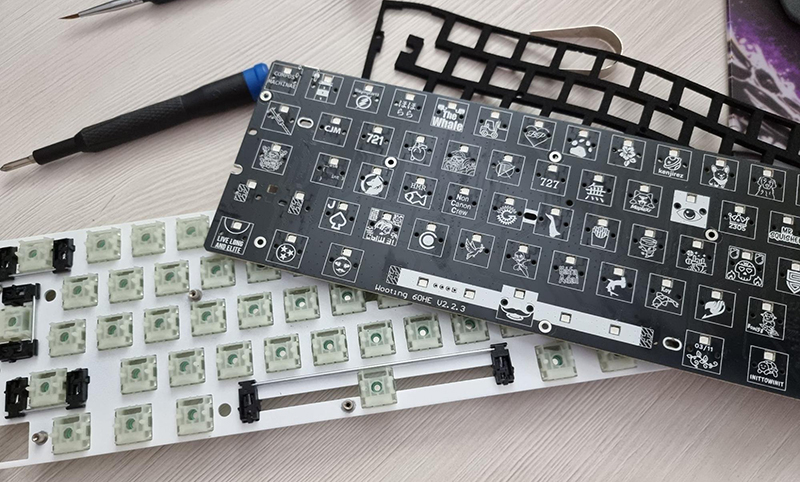
Pulling the switches out of the plate without taking off the PCB was rather difficult so the first thing you need to do is disassemble the PCB/plate/switches sandwich and pull the switches out that way. Once the switches are out the process is the same as with other switches, just be careful with the amount of lube you apply.
Wooting themselves recommend sticking to lubing the stem of the switch for the safest and fastest lubing job, but if you want to smoothen and dampen the sound a bit more you can lube the bottom housing and spring as well. This process will take quite a bit of time since you need to get all of the switches lubed so be patient and work slowly towards your goal.
The reason you can omit lubing the stabilizers is that in most cases Wooting does a good job from the factory so you can just skip it or add a bit of lube yourself.
Once the switches are ready you can assemble the Wooting into the new case with all of the foam/tape/mount mods and lubed switches.
The Verdict
After spending about 6 hours modifying the Wooting 60HE and trying to elevate it to the absolute best premium experience, the results for me are a mixed bag. Just like Hipyo and many other custom keyboard enthusiasts, I think the sound of the Lekker switches (because of their unique construction) is still quite lacking compared to a normal lubed/filmed switch.
After lubing and modding the keyboard does sound significantly better, but when compared to other custom keyboards it still sounds rattly and chattery. This however does not mean I will stop using the keyboard because of its unmatched performance capabilities.