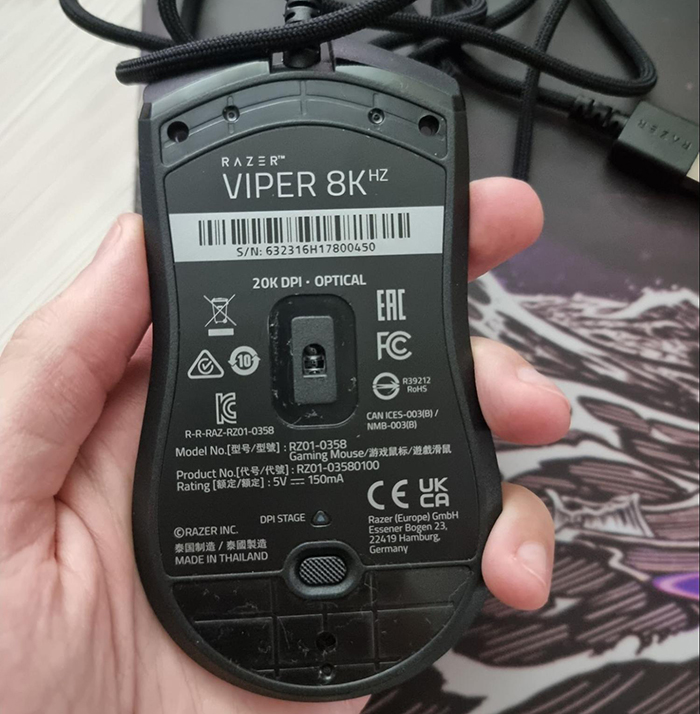
Razer Viper 8K – Weight Reduction and Modding
The Razer Viper 8K does not make the list when it comes to best current mice because it is wired and it is quite heavy, nevertheless, the wired 8000 Hz polling rate is to this day on the absolute top when it comes to motion latency and click latency.
For this very specific reason (the amazing performance) I decided to pick a Viper 8K up, and here is how this story went.
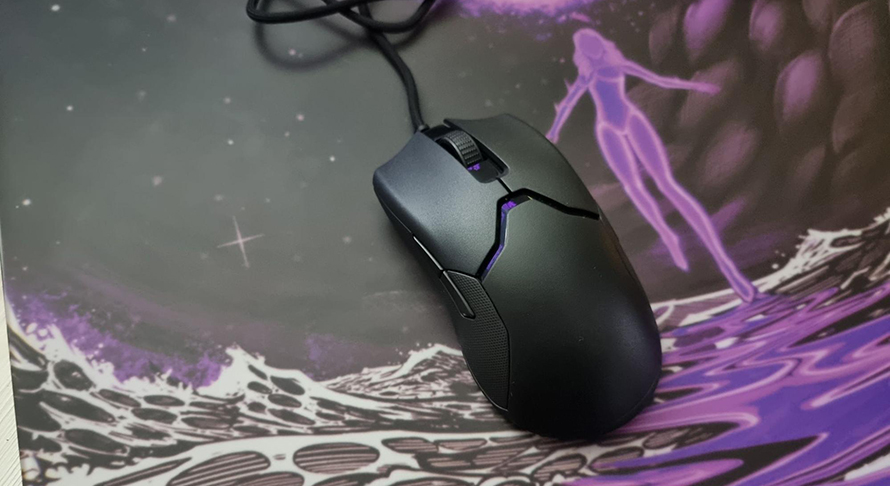
The Stock Experience
I have been quite spoiled by modern mice in terms of weight and performance (HSK Pro 4K – main mouse) and from the very moment I tried using the Razer Viper 8K I understood that this mouse is a 2021 mouse and not a 2023 mouse.
The shape is mediocre at best (can fingertip grip but it is not comfortable), the cable is atrocious, the mouse feet are thin and scratchy, and the molded-in side grips are just a huge question mark for me. The only real wow moment was the actual performance of the sensor at 8000 Hz. The inputs felt instant and aiming felt locked in.
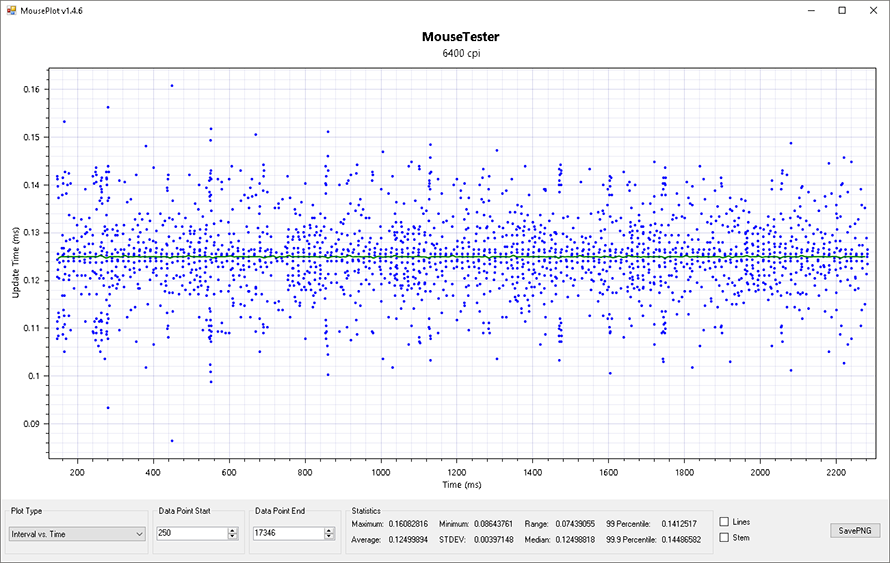
Mousetester graphs also showed very good polling rate stability meaning that this mouse had huge potential, but it needed some big mods.
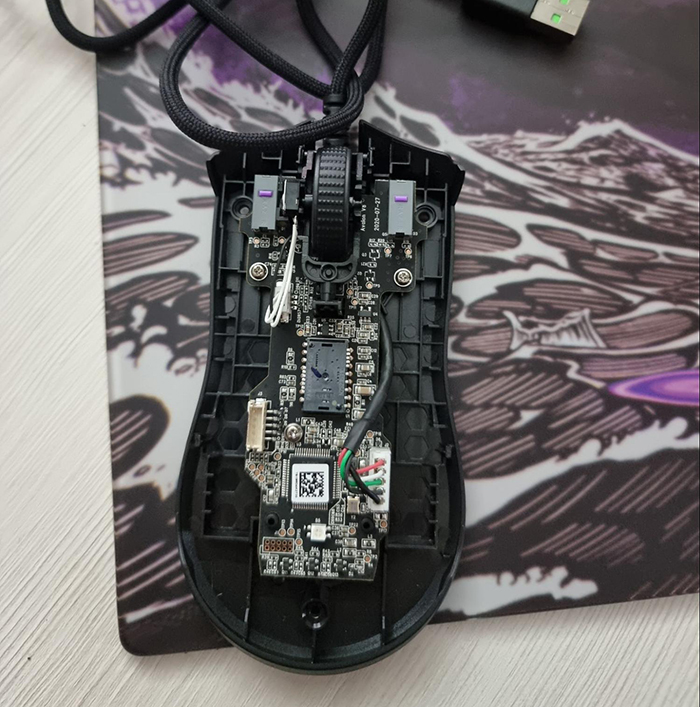
Mouse Disassembly and Planning
I took the mouse apart and started planning what to do to make the mouse usable for me. It was clear that the shell was too big so half of it had to go. The cable was extremely stiff even when used through a sleeve so I needed to replace it or do something it.
8000 Hz requires a cable that is no longer than 1.5m otherwise you will have polling rate stability issues so I just decided to mod the stock cable. The side grips and feet also needed to go – whoever decided to have injection molded rubber side grips needs to be punished by law. The side buttons on both sides were also useless and annoying to me and just looked like dead weight.
In short, the shell of the mouse needed heavy work to make the PCB inside of it worth using.
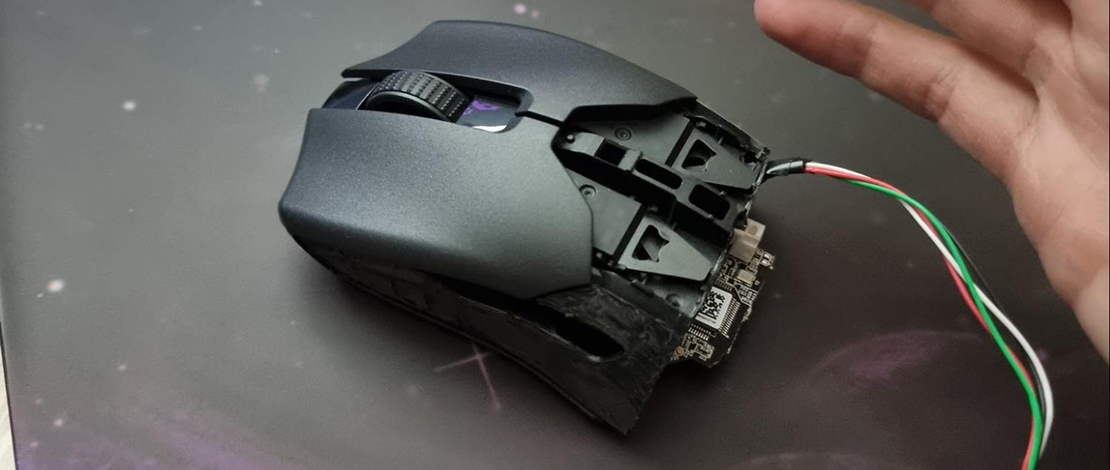
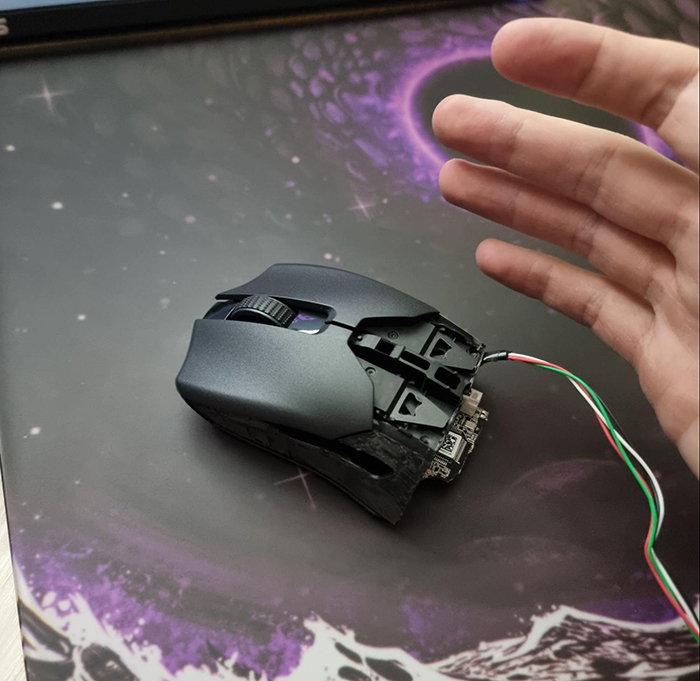
Working on the Shell
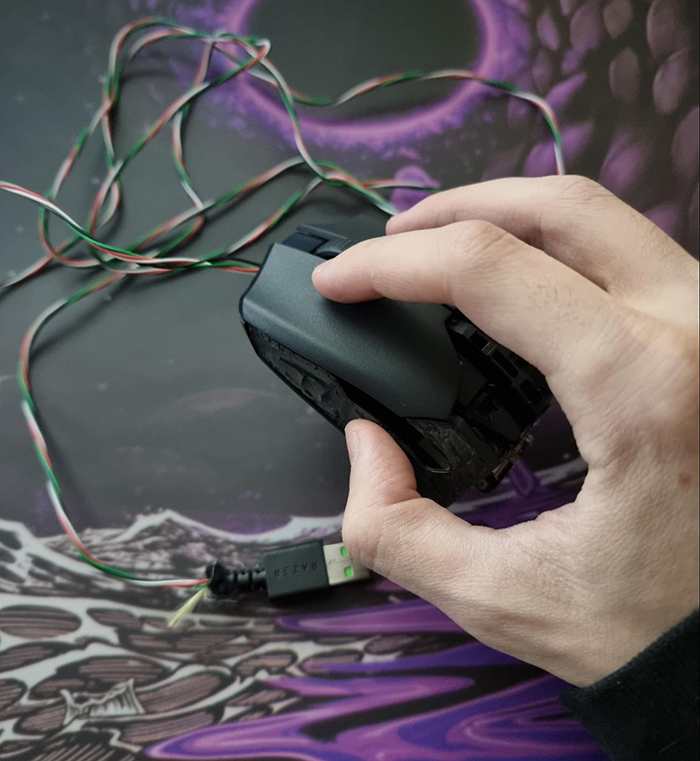
After taking out the PCB and side buttons, back cover shell, and clicks I started working on converting the Razer Viper 8K into a lighter fingertip-grip mouse. I started making some basic cuts along the curve of the top shell and then made deeper cuts making sure to leave the middle clips that allow the bottom and top shell to sit together without front screws.
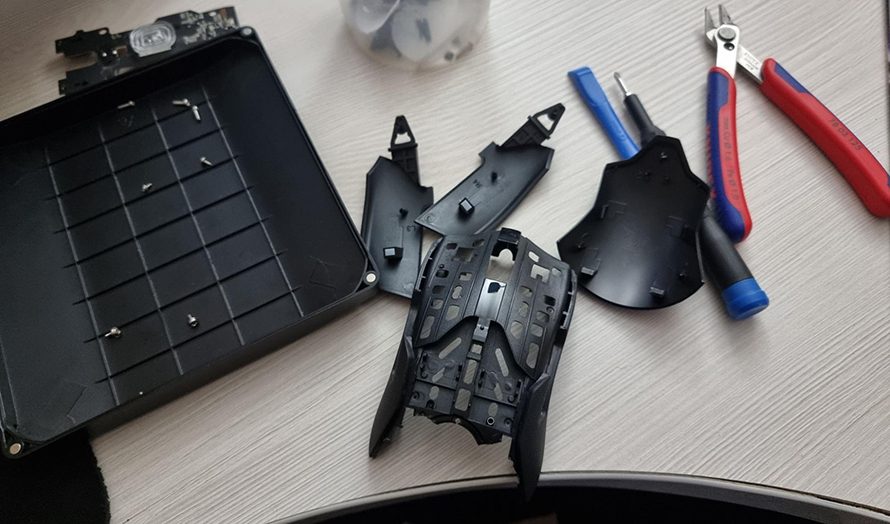
The same procedure was applied to the bottom shell where I cut the back side making sure to leave the middle clips so the pieces could retain structural integrity. After both were cut I decided to put the PCB and the top/bottom shells together for a test fit and to see how much the weight dropped from the initial 71g.

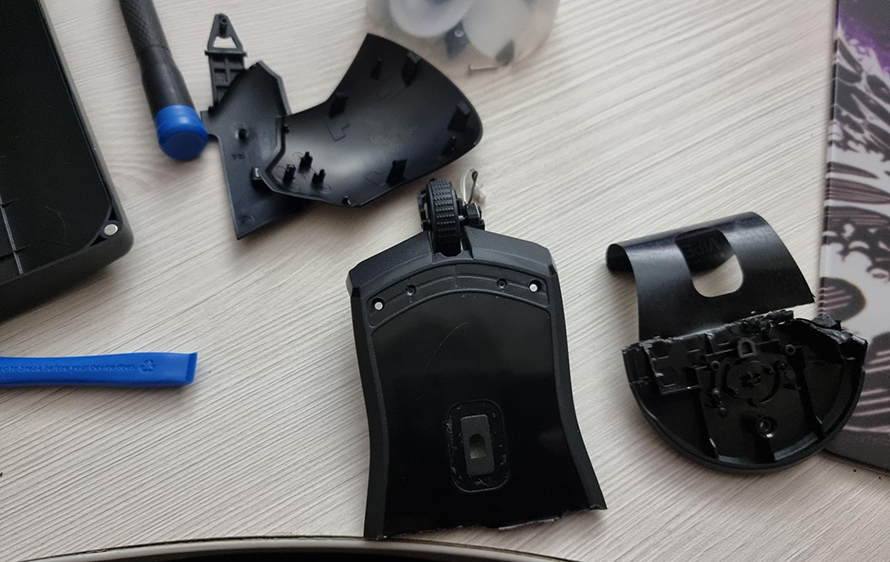
Working on the Shell – Rubber Side Grips
I would once again want to mention how insanely stupid it is to have rubber side grips that are MOLDED into the shell. Grip tape is a much cheaper long-term solution since it can be changed easily.
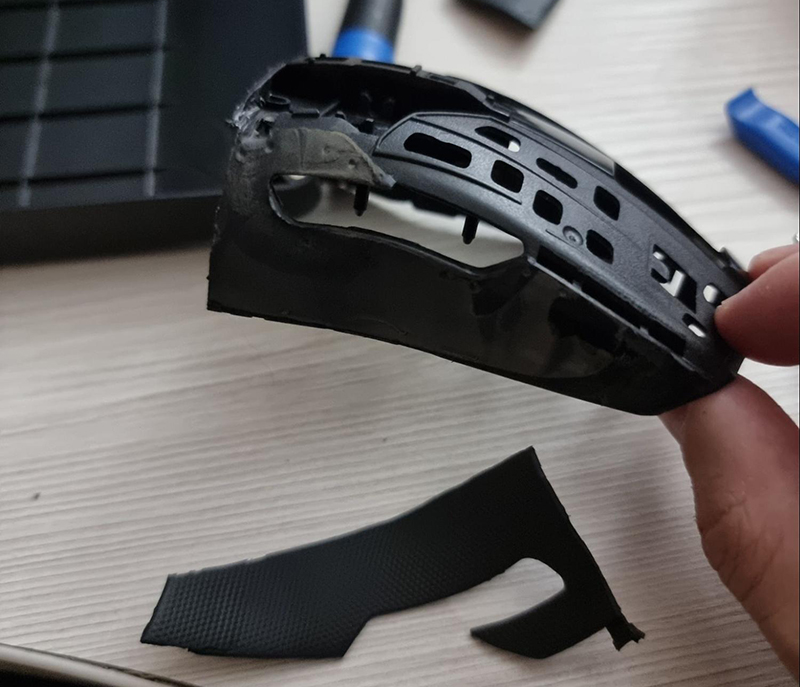
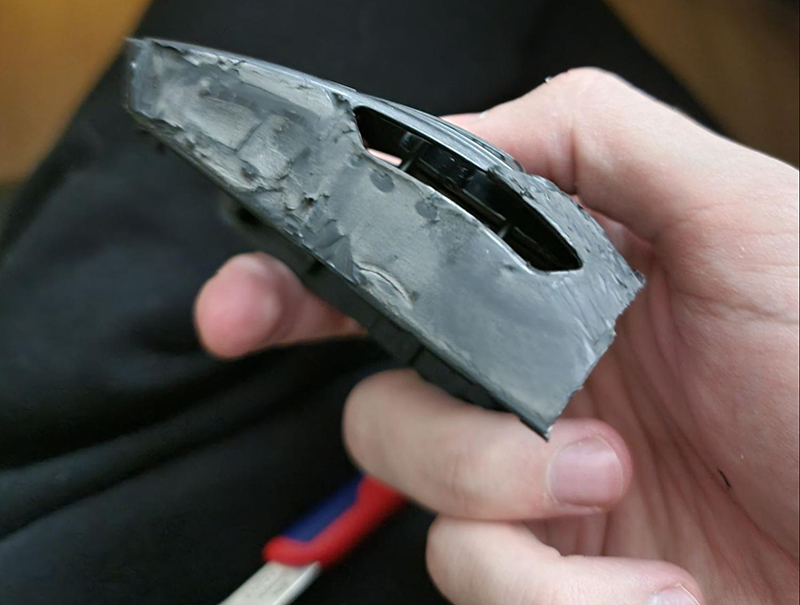
The rubber sides did not comply with being pulled so I had to pry them away from the surface and rip them off. This was perhaps one of the most annoying tasks that I had to complete while modding this mouse.
Funnily enough, I have found that the leftover rubber residue stuck to the top shell provided a better grip than the molded rubber grips so I did not bother trying to get rid of it (I also did not bother because I was already told it is impossible to get rid of it fully).
Modding the Stock Cable
While I did have an extra paracord it was too long to be used with the Razer Viper 8K and since I am doing all of this for the amazing performance of the mouse I did not feel like sacrificing polling rate stability.
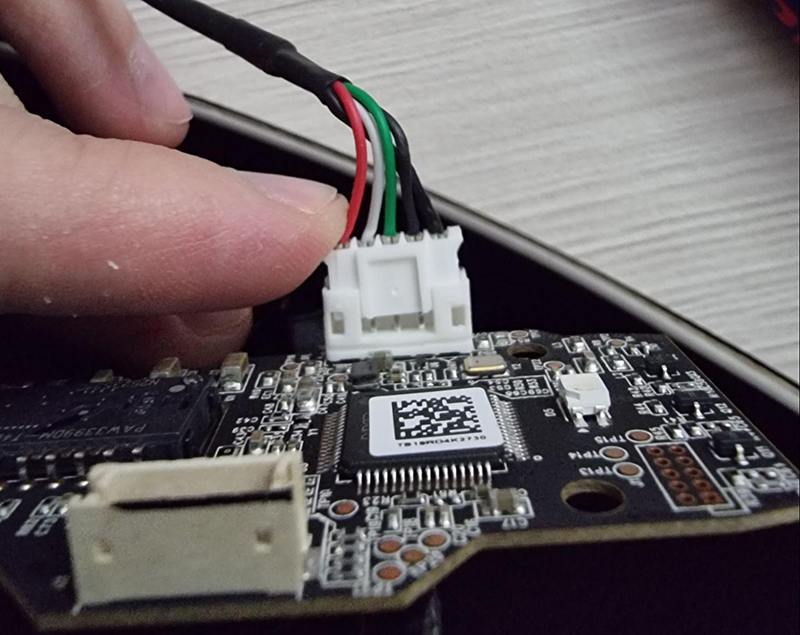

I took the stock cable out, took a photo of the pinout, took off the JST connector, took off the rubber mold that was used as a stress relief, and started chopping away. I cut away the paracord cover and was left with the cable and shielding.
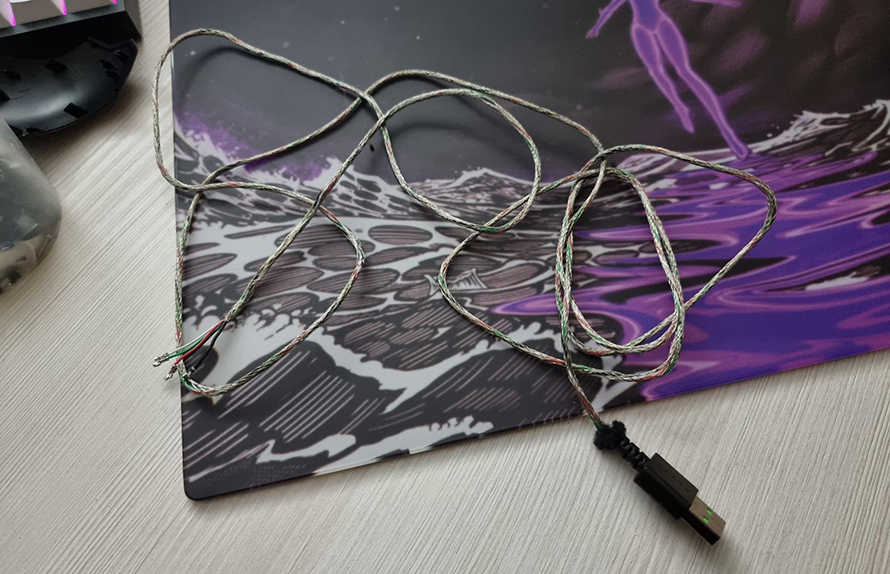
The shielding makes the cable very stiff and most paracord cables do not use one so I also took my time to chop off the shielding from the cable. Once done I was left with the clean wires so I plugged them back into the JST connector in the correct order following the correct pinout.
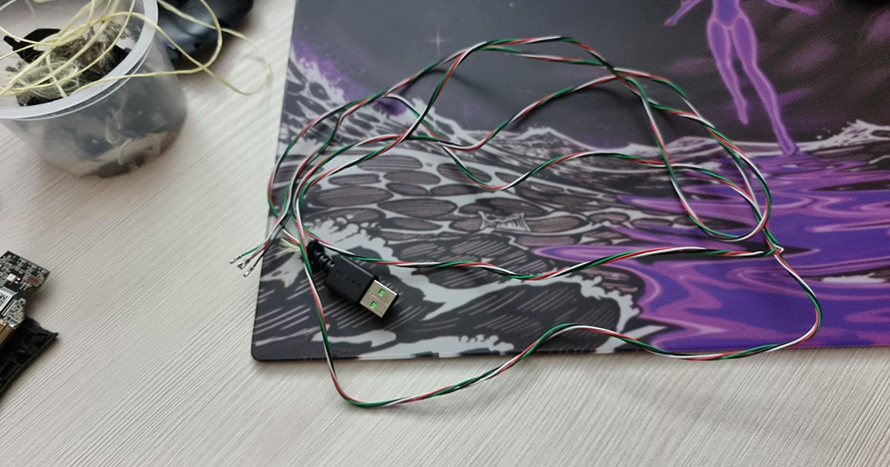
I made sure to test the PCB+stripped wire after the procedures to see if I damaged the wire during the cutting or not. Everything worked well so I continued the mods.
Cutting the PCB
This is most likely the riskiest mod to the Viper 8K and it involves cutting away part of the PCB to make it fit better with the cut shell.
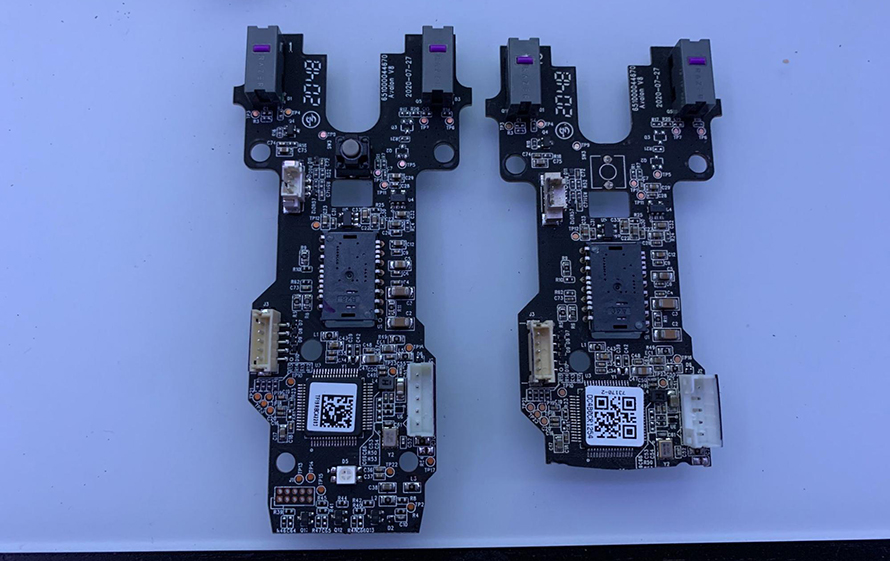
Idea given by @TRXXVlS
While risky I did take my time to make sure I cut away the safe parts – you are cutting away the DPI button, DPI LED, and other useless parts of the PCB. I wanted once again to make sure that the mouse works after the PCB delete mod and all of the cuts so I have assembled it for a test.
Since I plan on using the cable-through-sleeve method I routed the cable through the back (changed it to the front afterward) and tested the mouse. Everything worked as expected meaning that all of the cutting and modding was a success.
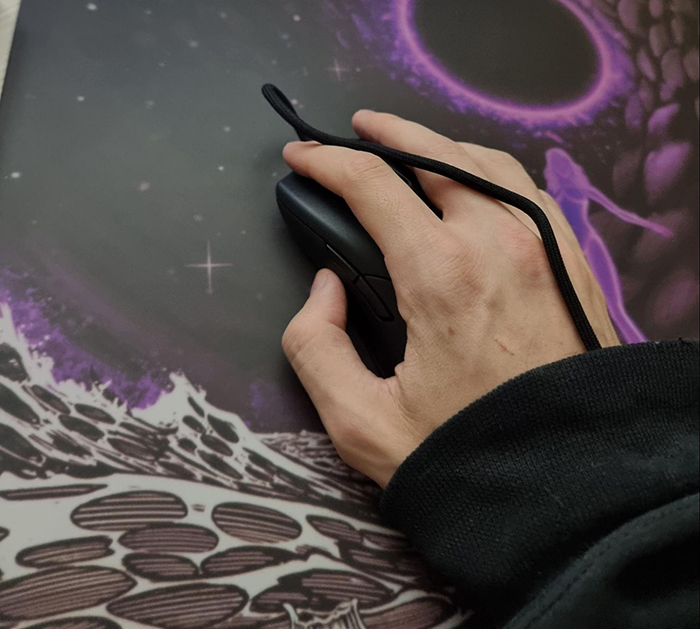
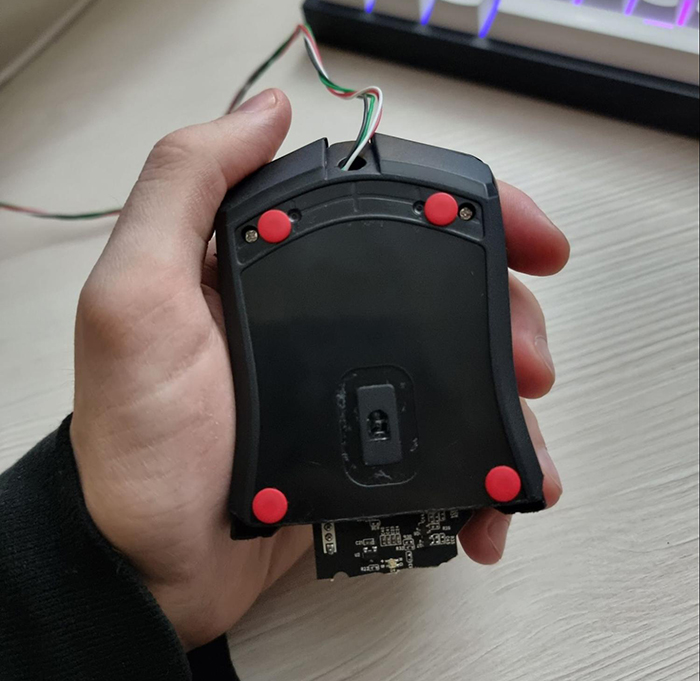
Changing the Mouse FeetWas All of This Worth It?
To complete the package I added some Obsidian dots since I play on glass pads only (SkyPad 3.0, Padsmith The Empress). These hardened PTFE skates and the much lighter and smaller mouse made the experience much smoother compared to the thin skates Razer used by default on the Viper 8K.
Was All of This Worth It?
A big question many of you might have is whether doing all of this was worth it. While modding and cutting the heck out of the Razer Viper 8K will not necessarily make me a God-Gamer, the project itself was a fun undertaking for me.
I do enjoy extreme mods like these and knowing I can now fully benefit from a wired 8K Hz mouse that previously was unusable for me does make me proud. This kind of project is not for everyone, and it might be smarter to start with a non-destructive mod, but since I knew what I wanted this was the only way for me.
In time while I use the mouse more there will be revisions made to the cuts and parts, but for now, I am satisfied with what I got.
If you plan on doing the same to your Razer Viper 8K, or any other mouse drop a comment below or DM me in Discord if you need some more tips on how to do it without bricking your mouse. Peace!