How to Change a Mouse Battery
The current generation of wireless mice is simply incredible in terms of performance with 4000 Hz polling rate and amazing sensor accuracy. At the same time, the biggest issue that has popped up so far is that because of the increased polling rate and the need to keep the mice lightweight, battery life has dropped significantly.
A smaller battery, more charge/discharge cycles, and demanding hardware all mean you will end up with a battery that cannot hold a charge anymore quite quickly. The same applies if you simply do not want to charge your mouse every day or for a couple of days.
The Solution
Although there are workarounds to this issue, the core solution is to simply swap the current battery out of your wireless mouse. Depending on your experience this process can be either extremely simple or quite complicated.
The Process
Before you start replacing your battery make sure you have a screwdriver, some alcohol wipes, and a pair of tweezers. Besides your new battery, you will need these items to open up your mouse and remove the old battery.
Quick guide:
- Remove your mouse skates
- Locate screws that were hidden by the mouse skates and take them out
- Pry the mouse open with a guitar pick or a similar tool if it doesn’t just open up after taking the screws out
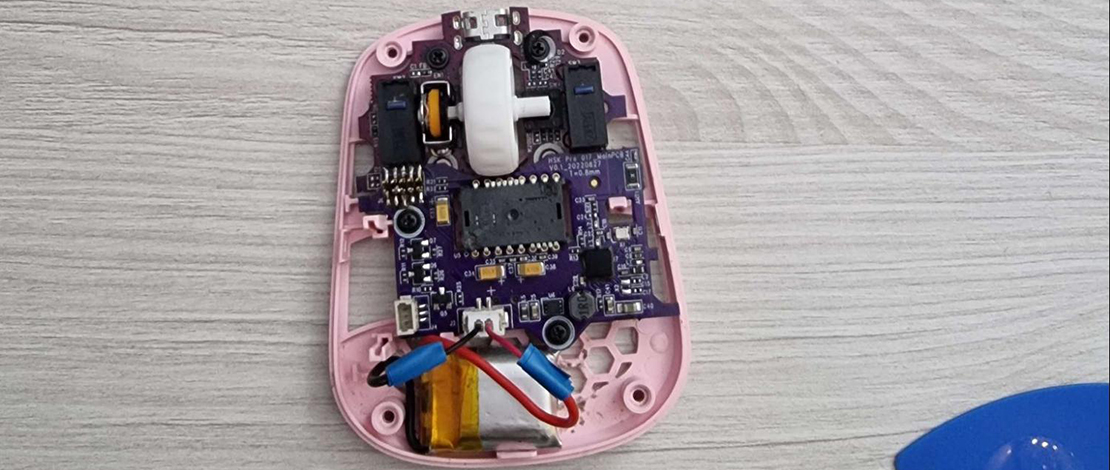
- Remove the top shell carefully in case you have ribbon cables – if not just put the top shell to the side
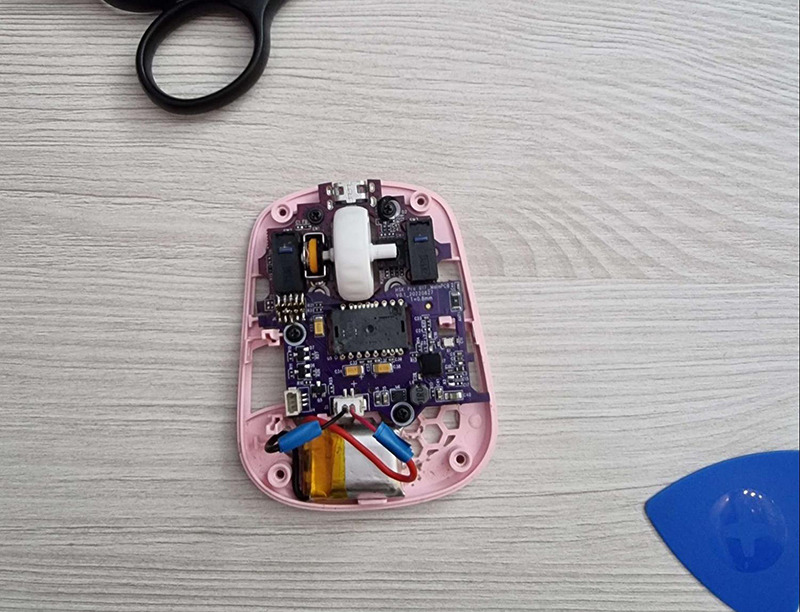
- Locate the battery connector and remove the old battery – in case it is stuck use the tweezers to pry it out
- Slot the new battery in and close the mouse up
Complications
If you were not careful when selecting your replacement battery you might have bought one that uses a different JST connector or lacks one altogether. For people without experience, I suggest purchasing a different replacement battery that would fit – for people ready to tinker there is a simple solution to all of this.
You will need to crimp or solder the old JST connector to the new battery so you can slot it into your mouse.
Quick guide:
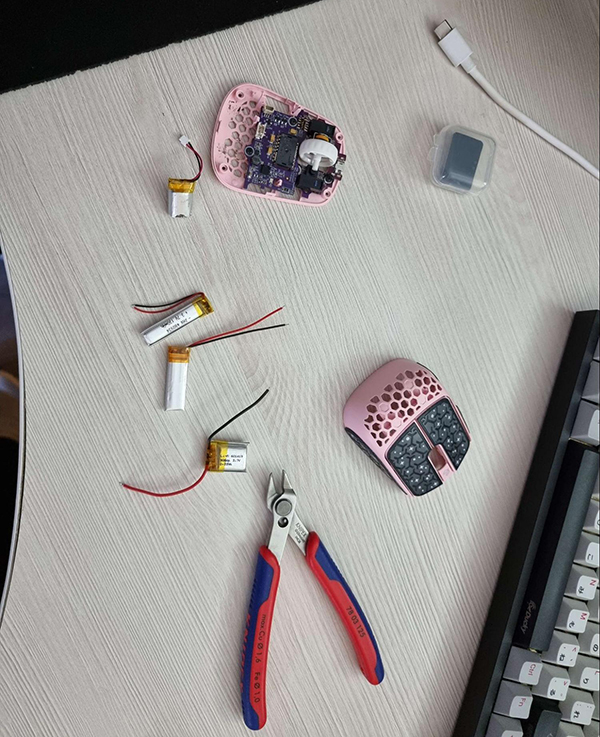
- Take the old defunct battery and clip the cables about in the middle – this way you have the correct connector and a bit of spare space on the wires in case you make a mistake
- Take the new battery with the wrong connector and cut it off (or just take the battery with no connector
- Strip the wires from the correct connector you cut from the old battery and the wires from the new battery
- Twist them together and solder the wires
- Use electrical tape or heat shrink to cover the connection you just made
The Benefits
The process of swapping your battery out of your mouse can be used for different purposes:
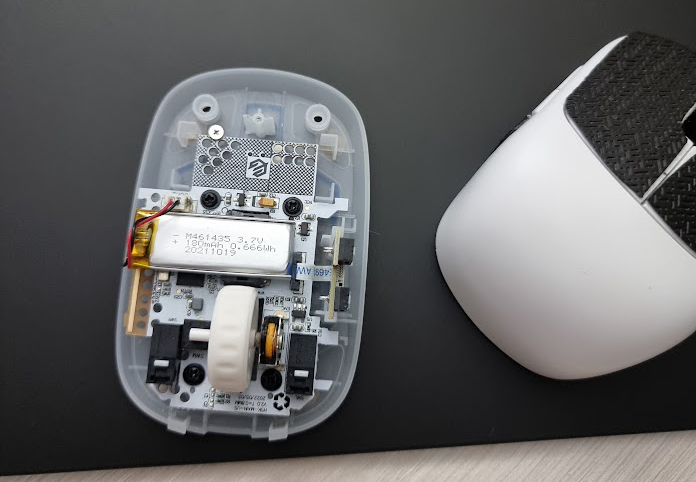
- Weight modding – the battery is one of the heaviest components so swapping in a lighter one is a great step towards a lightweight mouse
- Extending battery life – swapping in a battery with a bigger capacity quickly solves the issue of charging more often
- Faulty battery – in case your battery is dead or not holding a charge well anymore (dies within minutes of charging) you can swap it out easily solving the problem altogether. This way you do not have to buy a completely new mouse for no reason