The Importance of Prolonged Testing For Overclocking/Undervolting
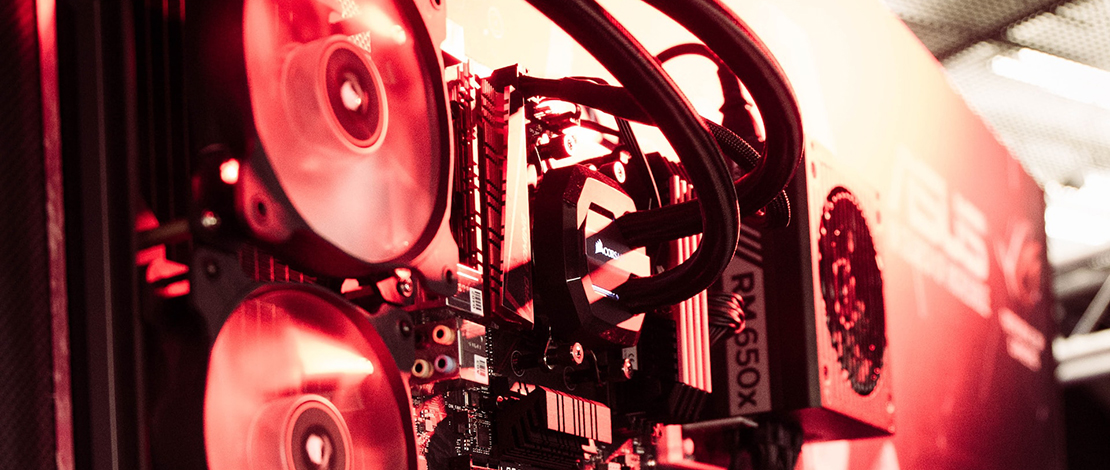
Manually tweaking your parts to be more power efficient or to push out a bit more FPS is quite thrilling and is a huge part of why PCs are so fun to build and use. A common issue that has been growing lately in the PC community though is rushing through your stability testing after applying some manual tweaks.
It is necessary to stress the importance of conducting proper stability testing after overclocking/undervolting your CPU/GPU/RAM. Proper testing does not happen in 10-20 minutes and might take 2-3 hours for certain parts, while RAM for example can need up to 24 hours of testing to ensure stability (some test for 8 hours meaning that you can game for 8 hours without crashes).
CPU/GPU Stability Testing
When it comes to CPU/GPU voltage and frequency tweaking the best way to proceed is to hit each component with the hardest benchmark/stress test you can find. Some may say that this is not necessary since gaming loads in terms of vcore/wattage/temperatures are a lot lower, but the problem of testing your overclock/undervolt with a game is that each game has different requirements.
Power consumption and thermals do not scale linearly between games, and do not scale even within the same game – some loading screens can pull 2x the amount of power from your CPU when it is pre-caching shaders.
Low usage benchmarks like Cinebench also offer limited usability because there is nowhere near enough stress on the components. If you want to test your GPU run Superposition 8K for at least an hour, and if you want to test your CPU overclock run OCCT AVX2 – Small – Extreme/Prime95 Small FFTs.
If you do not have the patience for it simply run stock values and enjoy your gaming time. Even from my own experience, most times I think I should be stable with my CPU/GPU OC, I end up needing to increase the voltage or reduce the frequency because of an unexpected crash 30+ minutes into the testing.
RAM Stability Testing
As mentioned in this article you need to use heavy tests on the RAM because this is a very sensitive component that can cause a lot of issues down the road if unstable. You want to test for at least a couple of hours when it comes to your RAM overclock/tighter timings because, with RAM, errors can show 8+ hours into the test meaning you are not truly running stable values.
DO NOT run some basic tests like MemTest86 or AIDA64 since these are known to not identify errors. 1-2 hours of VT3-VST in y-cruncher to test the IMC and then 96 cycles of TM5 with the PCB Destroyer as a baseline. You can test in-game while you tune frequency/timings for progress or regression but you cannot use a game as a stability test for RAM under any circumstances.
TL;DR
If you are committed to a manual tune you need to dedicate the necessary time to see if your settings are stable. 5-10 minute tests do not validate your overclock/undervolt and even for basic changes on your CPU/GPU you need to spend a couple of hours (overnight preferably).
When it comes to RAM you want to aim for at LEAST 8 hours stable and preferably 24 hours for your OC to be considered good.